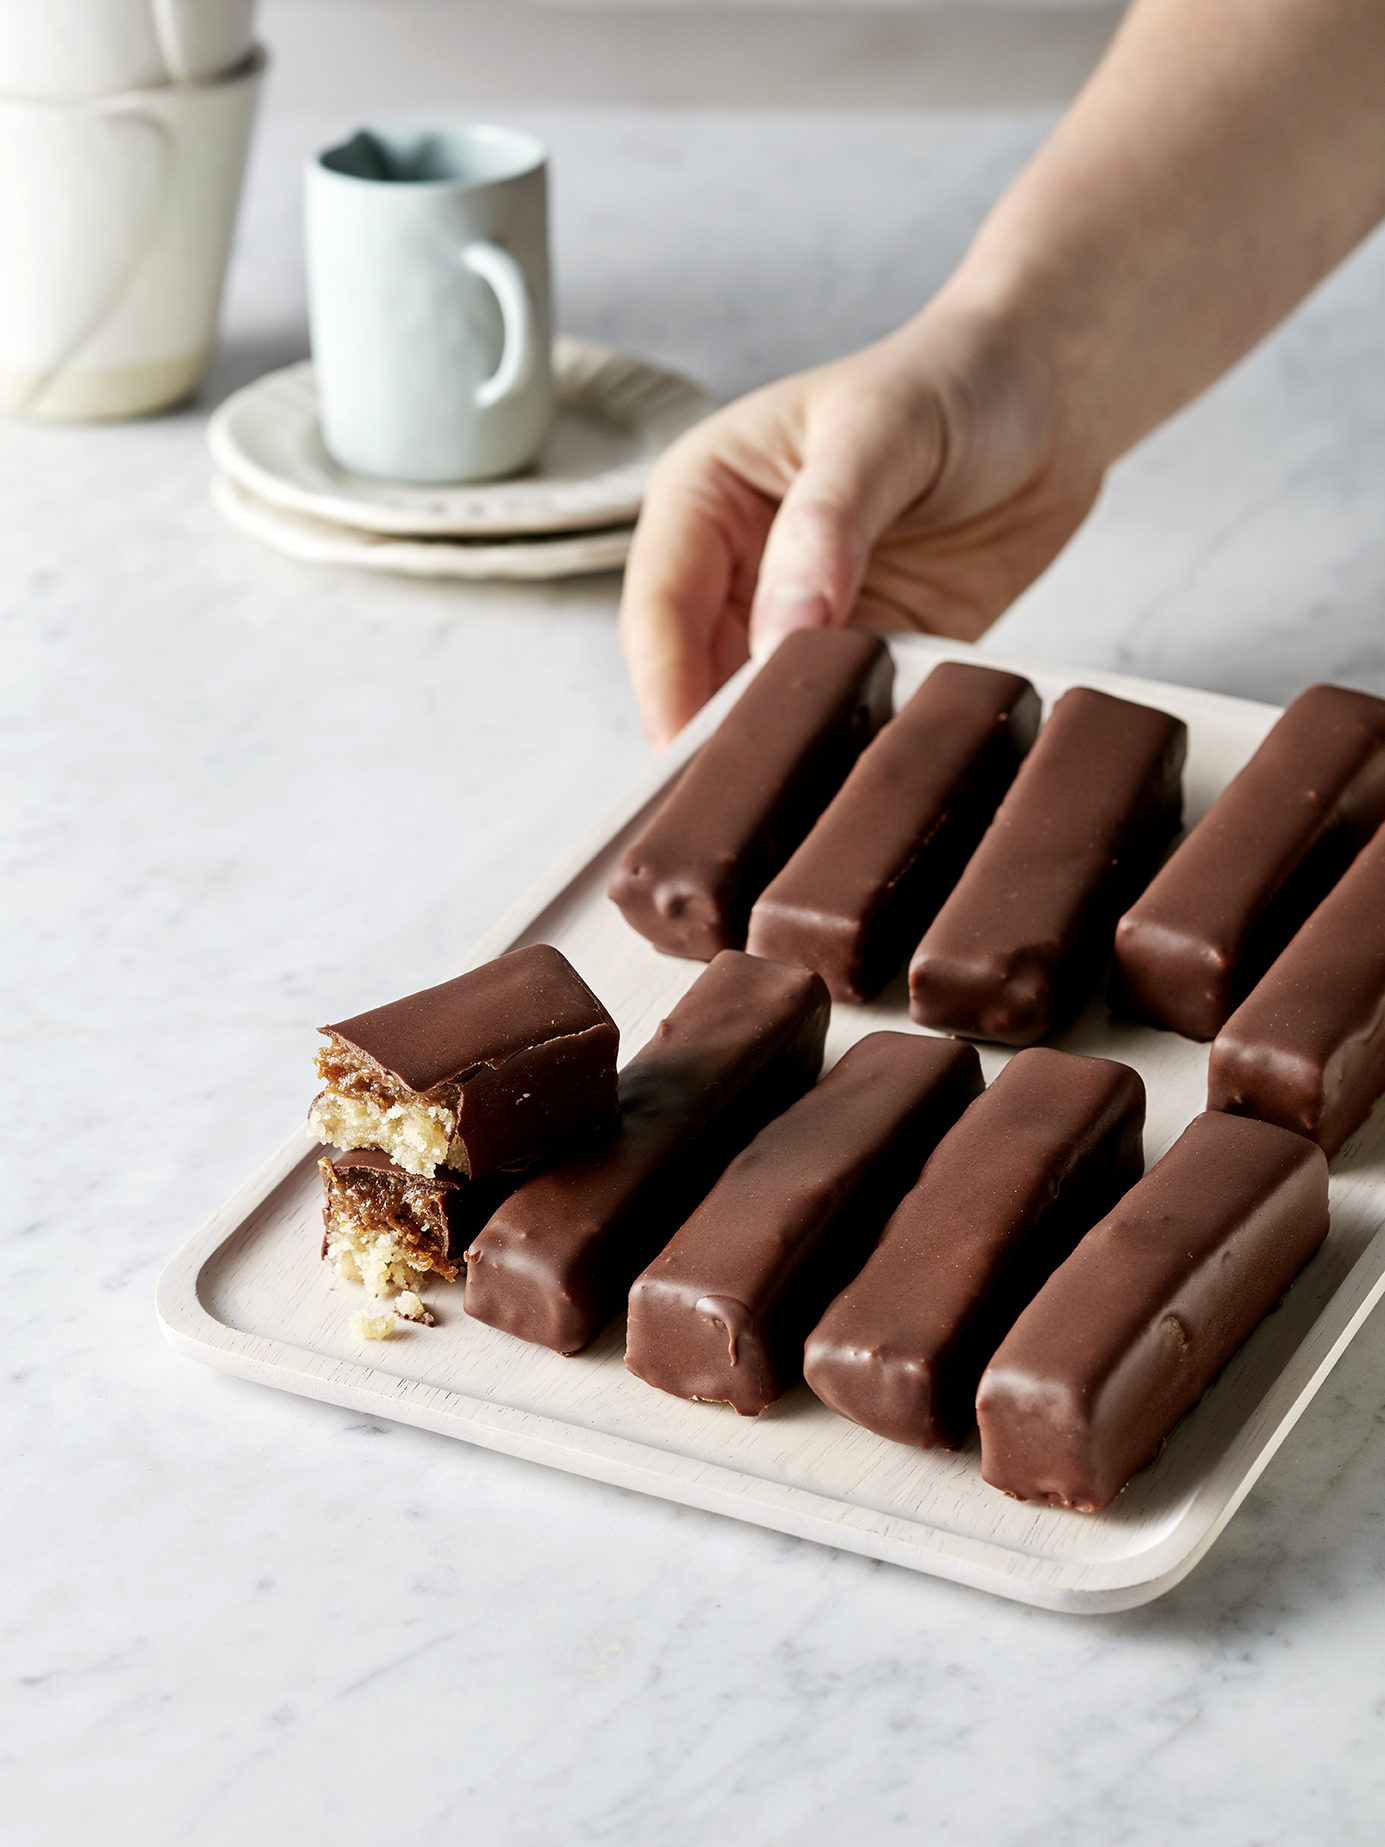
Raw 'Twix' Bars // Kenkō Kitchen. Image taken from the Bliss Bites Cookbook. Cookbook out December 1st through Hardie Grant. Photography by Elisa Watson, styling by Caroline Velik.
There is a reason why George Costanza, in a Seinfeld episode, got so upset about someone eating his Twix bar. They are just so darn good you really don't want to share them. These Twixes are raw, so they're not exactly the real deal, but they are close enough for me. Keep these on hand in your freezer to snack on whenever you please - which will be always! Until you run out; in which case, just make more!
Raw 'Twix' Bars
Makes 12 or 24
Prep time: 15 minutes
Setting time: about 1 hour
INGREDIENTS
Base
155g (1 cup) activated or raw cashews or macadamia nuts
45g (1/2 cup) desiccated coconut
2 1/2 tablespoons almond meal
1/2 teaspoon vanilla extract or 1/4 teaspoon vanilla powder
2 tablespoons maple syrup
Caramel
13 medjool dates (about 260g), pitted
60ml (1/4 cup) maple syrup, coconut nectar or rice malt syrup
90g (1/3 cup) nut or seed butter
1 teaspoon vanilla extract or 1/2 teaspoon vanilla powder
1 tablespoon mesquite powder (optional)
pinch sea salt flakes
Chocolate coating
100g raw or dark chocolate, melted and cooled
METHOD
Place all the ingredients for the base in your food processor and pulse until well combined.
Line the base of a 20 x 15cm (8 x 6 in) baking tin with baking paper. Place the nut mixture into the tin, pressing it firmly and evenly over the base. Transfer to the freezer and freeze for about 30 minutes, or until firm.
To make the caramel, combine the ingredients in the cleaned food processor and blend together until smooth. Remove the tin from the freezer and spread the caramel layer evenly over the base. Return to freezer to set firm.
Line a small tray with baking paper.
Once the mixture is firm, remove the Twix from the tin and cut into 12 even-sized fingers. You can then cut these in half widthways, to give 24 smaller fingers, if you like. Dip the fingers into the melted chocolate, draining off any excess, and place them on the tray.
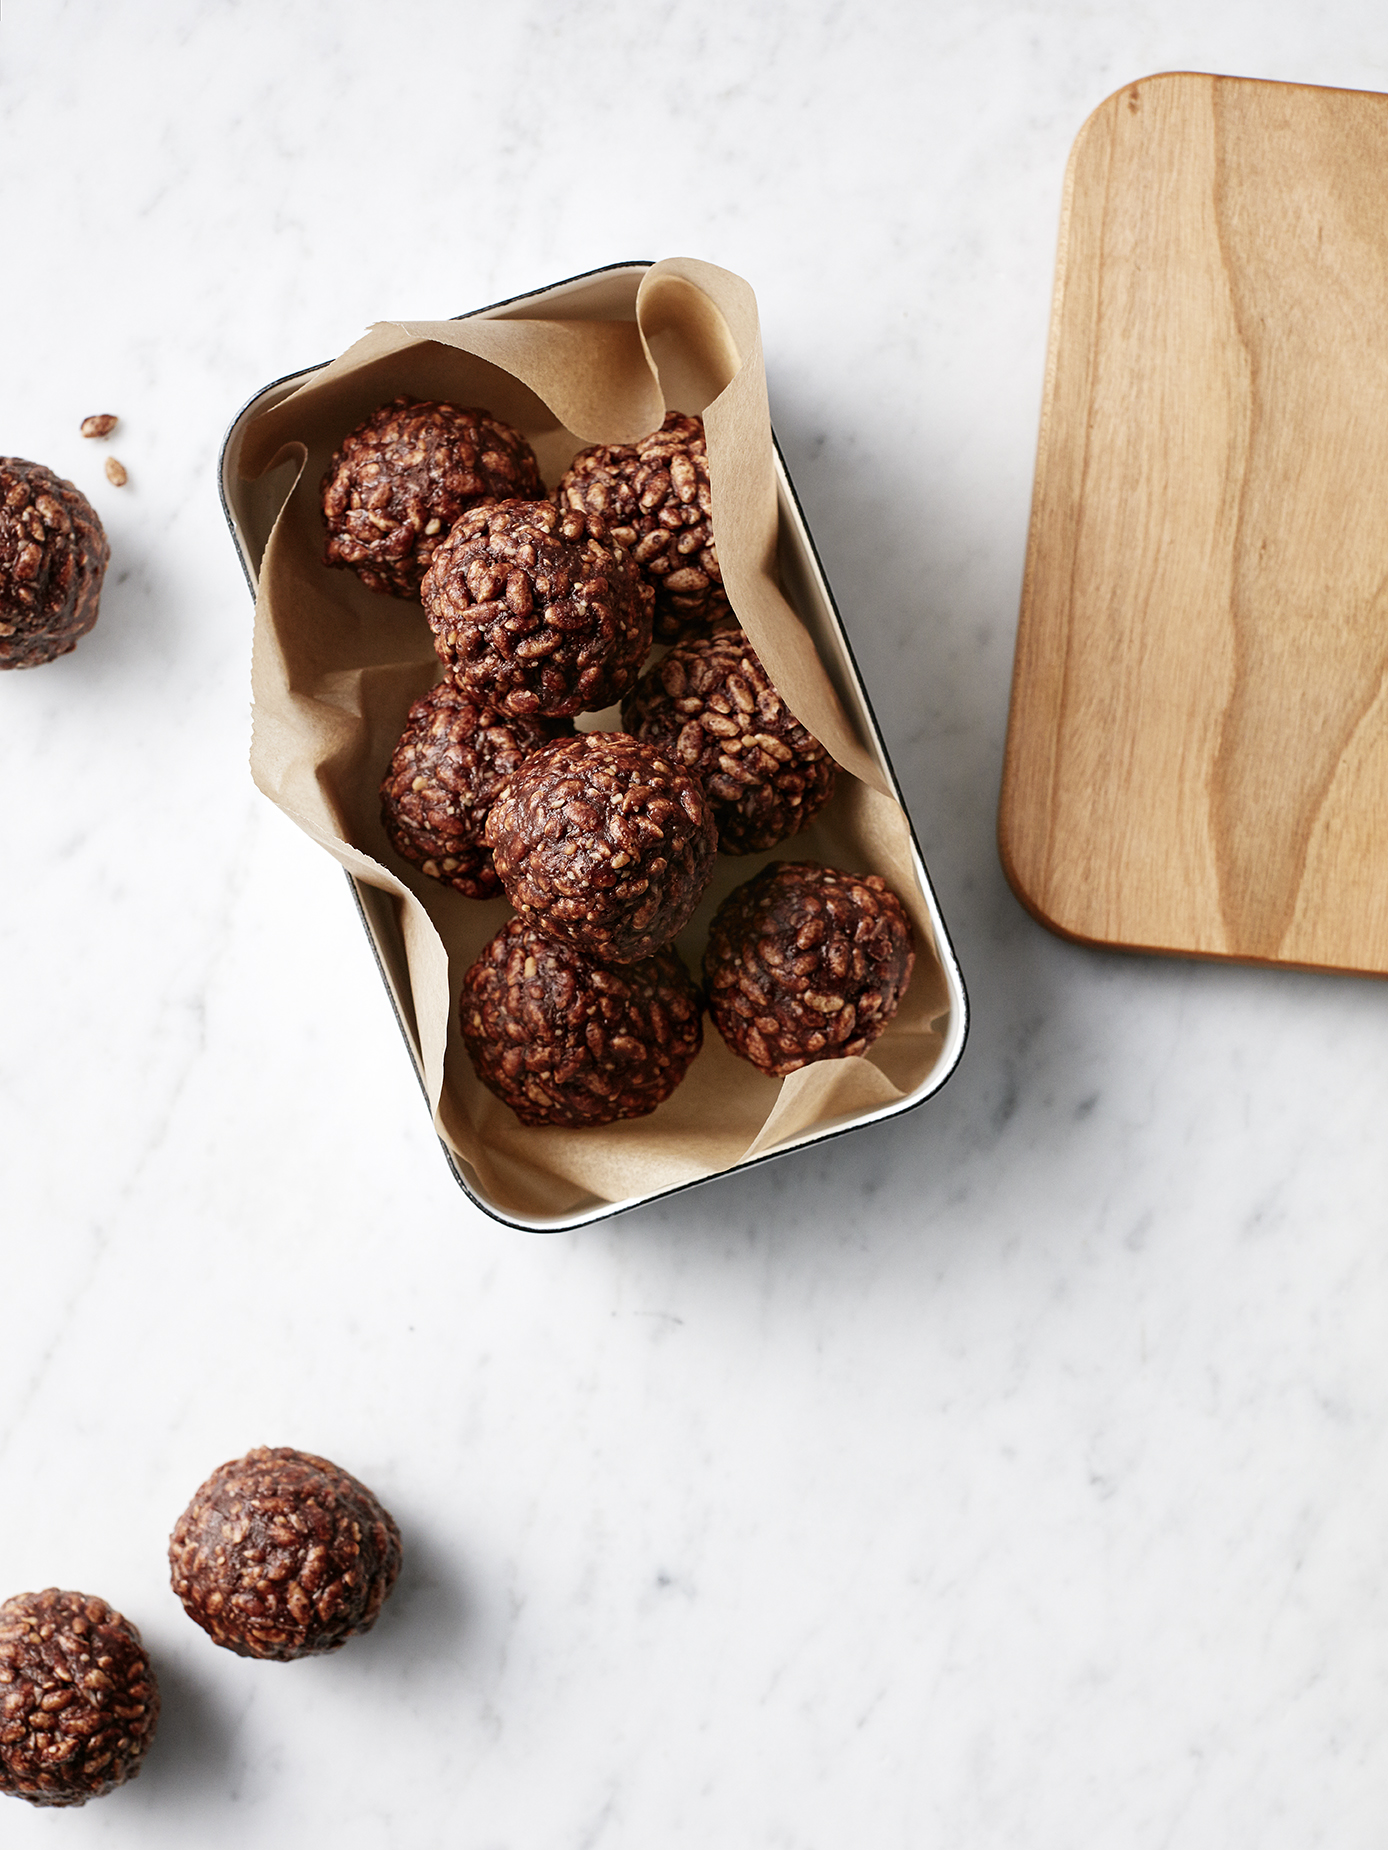
Refrigerate or freeze until the chocolate has set then transfer them to an airtight container to store. These will keep, ideally frozen, for a couple of months (or 2 days, if you find them as delicious as I do!).
Note: These bars go a bit soft in the fridge, so freezer storage is best.