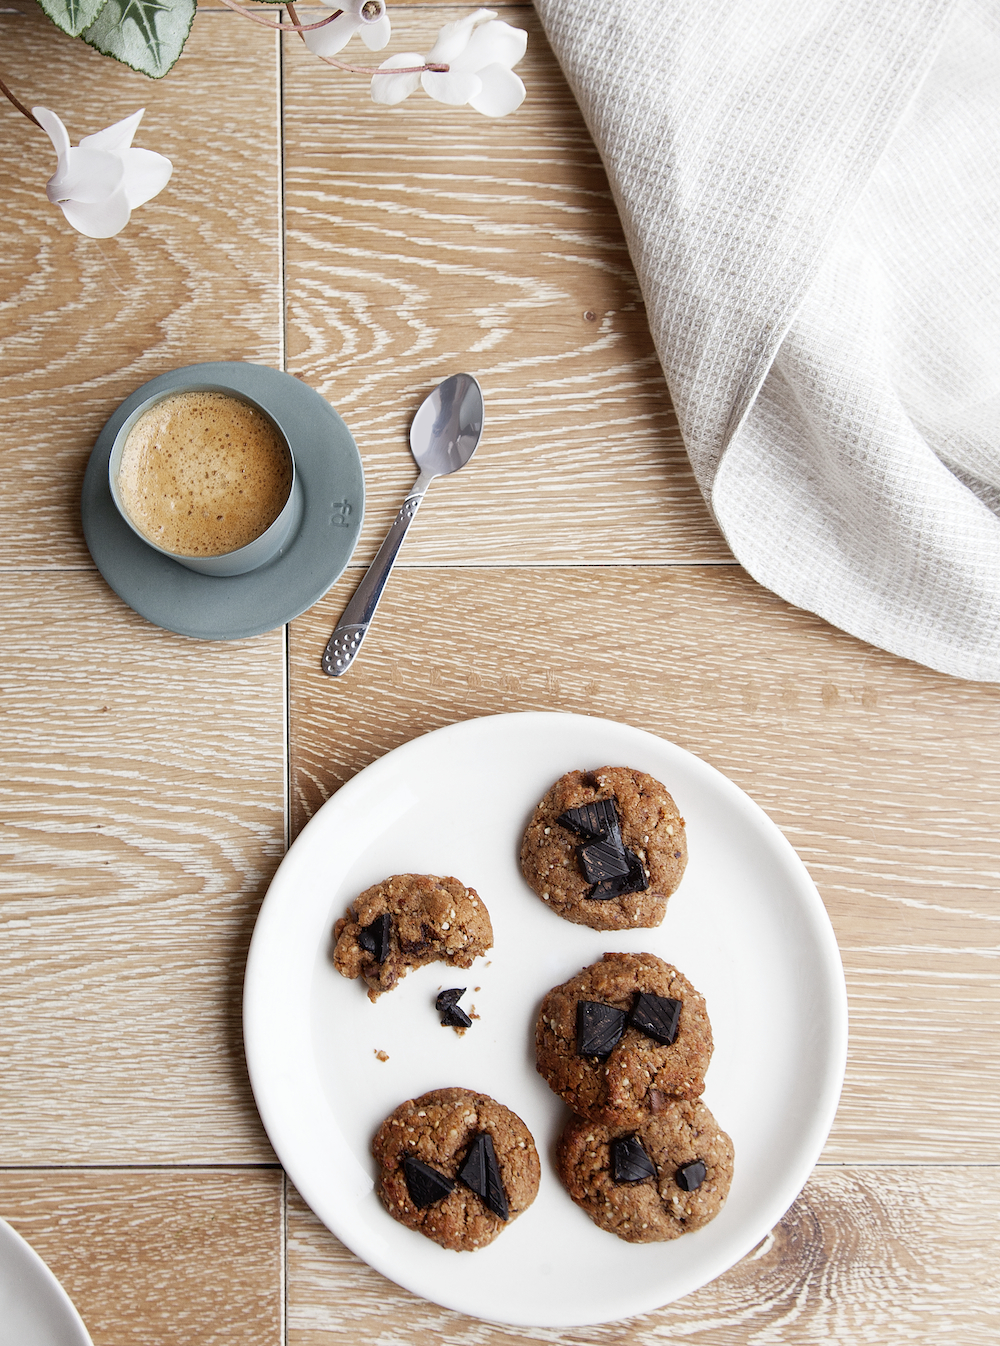
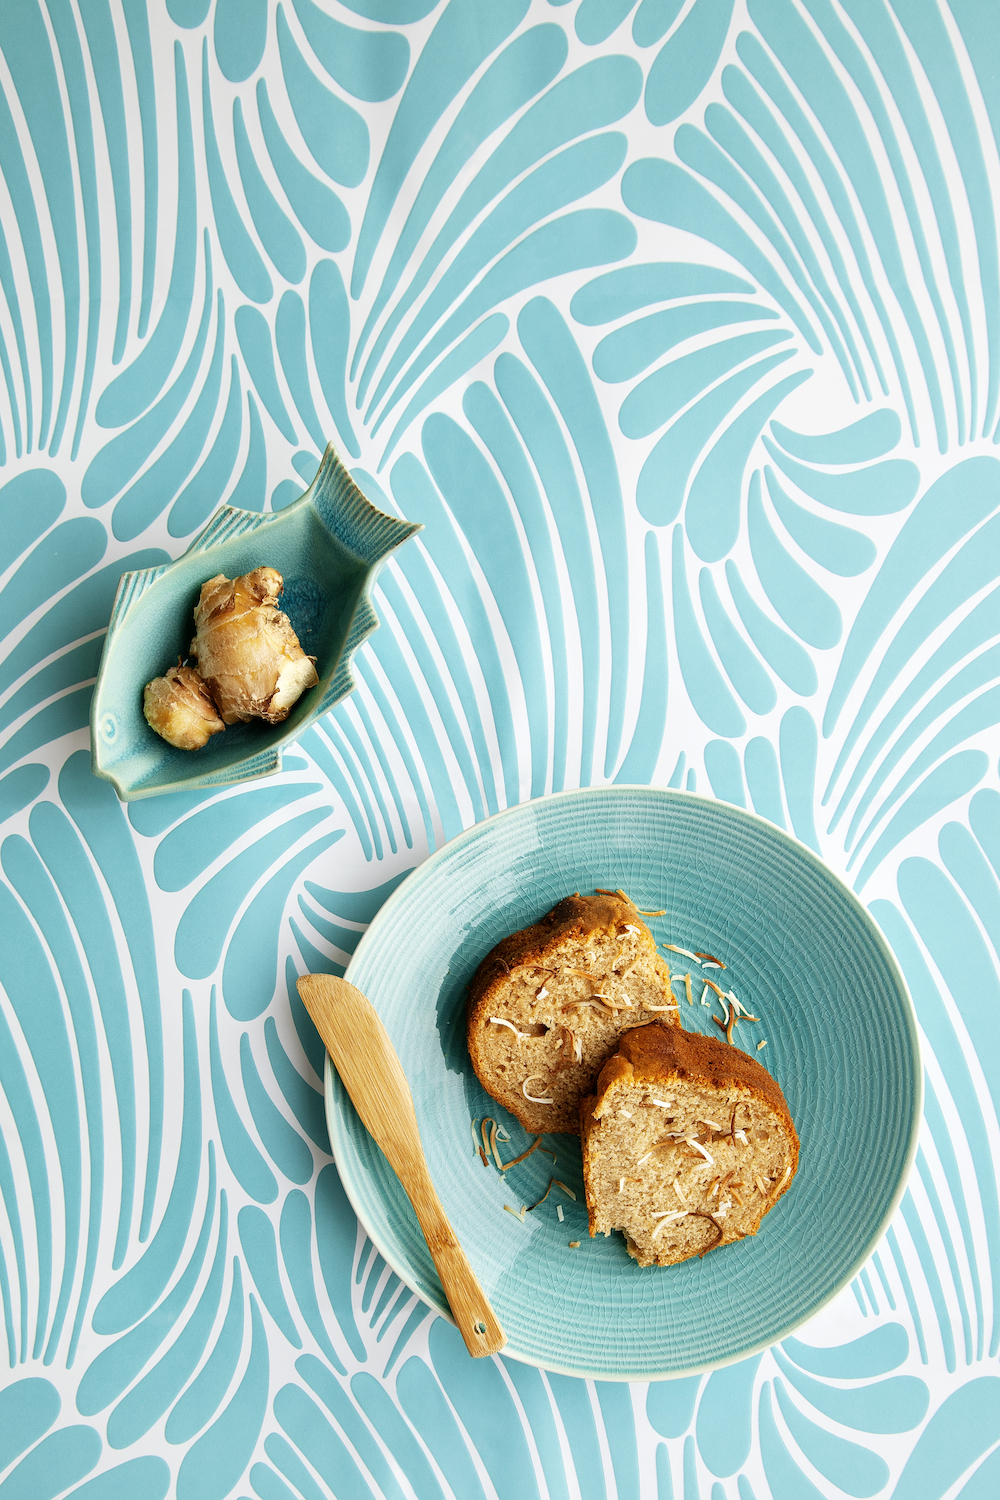
Chocolate, Mocha & Coffee Layer Cake // Kenkō Kitchen. Image taken from the Kenkō Kitchen Cookbook. Australian edition out now through Hardie Grant, out March/April through Hardie Grant UK and Rizzoli USA. Photography by Elisa Watson, styling by Kate Bradley (Kenkō Kitchen) and Sally Bradley.
Valentine's Day is fast approaching and whilst it's not something I traditionally celebrate - Let's just say it's a long story involving my 11 year old self dropping a love heart cushion with two teddys hugging on it and the words 'I love you' inscribed onto my "boyfriends" doorstep and never receiving a valentines back (and still never receiving any valentine of any sort to this date - young love tragedy, I know) - I do like to take the day as an opportunity and excuse to bake something decadent and beautiful.
This is three layer cake which I am sharing with you is from my new cookbook the 'Kenkō Kitchen' cookbook. It is a Chocolate, Mocha & Coffee Layer Cake with Chocolate Avocado Mousse filling and delicious vanilla coconut and chocolate icing. The recipe was posted last week very kindly by Sportluxe but I thought I should also share it here for all my subscribers and followers who may have missed it. This cake is beautiful in not only taste and but also in appearance. It definitely has the wow factor and whilst it may look crafty to make up I assure you it is very easy to bake, assemble and is fool proof to ice! You can make this for your special partner to share on Saturday or otherwise you can make it simply for your family, friends or even more importantly - yourself.
You can still purchase the Kenkō Kitchen cookbook for 30% off RRP from David Jones stores across Australia as it's still in the Top 10 books this week! Otherwise you will find the book in all good bookstores and department stores across the country and online. For more information check out the cookbook page here.
Please enjoy this beautiful decadent cake and remember to enjoy yourself this weekend! xx
Chocolate, Mocha & Coffee Layer Cake
Serves 6
Prep time: 30 minutes
Cooking time: 30 minutes
Ingredients
Cake base
225 g (8 oz/1 ½ cups) light buckwheat flour
240 g (8½ oz/1½ cups) brown rice flour
100 g (3½ oz/1 cup) ground almonds or almond meal
2 teaspoons baking powder
1 teaspoon bicarbonate of soda (baking soda)
1 tablespoon cacao powder
1 tablespoon tapioca flour
1 teaspoon salt
105 g (3½ oz/½ cup) stevia or coconut sugar
125 ml (4 fl oz/½ cup) rice malt syrup
250 ml (8½ fl oz/1 cup) plant-based oil
190 ml (6½ fl oz/ ¾ cup) coconut oil
250 ml (8½ fl oz/1 cup) plant-based milk
30 g (1 oz) flaxmeal
125 ml (4 fl oz/ ½ cup) water
Mocha layer
60 ml (2 fl oz/ ¼ cup) espresso or cold brew coffee
30 g (1 oz/ ¼ cup) cacao powder
Coffee layer
80 ml (2½ fl oz/⅓ cup) espresso or cold brew coffee
1 tablespoon stevia
1 tablespoon buckwheat flour
1 tablespoon brown rice flour
Chocolate layer
40 g (1½ oz/⅓ cup) cacao powder
Filling
1 avocado, stoned
1 banana
30 g (1 oz/ ¼ cup) cacao powder
45 g (1½ oz) stevia (or more if you prefer sweeter)
Icing
350 g (12. Oz/2 cups) stevia icing mix (Sporteluxe tip: try Natvia Icing Mix to taste)
1 teaspoon vanilla extract
125 ml (4 fl oz/½ cup) coconut cream, plus a little extra if needed
30 g (1 oz/ ¼ cup) cacao powder
Method
- To make the cake base, mix all the ingredients in an electric mixer until combined. Divide the batter into 3 separate bowls.
- Preheat the oven to 180°C (350°F).
- For the mocha layer, mix the espresso and cacao into the mixture in one of the bowls. Then pour the mixture into a greased 18.5 cm (7 ¼ in) cake tin.
- For the coffee layer, mix the espresso, stevia, buckwheat flour and brown rice flour into the second bowl and then pour into another greased cake tin.
- For the chocolate layer, mix the cacao into the third bowl and pour into another cake tin. Bake the cakes in the oven for 30 minutes or until a skewer comes out clean. Alternatively, if you only have one cake tin, you just repeat the process 3 times until you have cooked each cake.
- Let the cakes cool completely then remove from the tins.
- To create the filling, mix the avocado, banana, cacao and stevia and beat with an electric mixer until light and fluffy.
- Place the coffee layer cake on a plate and spread the top with the avocado mousse filling. Next, top with the mocha cake, and spread over more mousse, and finally add the chocolate layer on top.
- To make the icing, mix all the ingredients, except the cacao, and beat with an electric mixer until combined. Halve the mixture and stir the cacao into one half. Spread the mixtures onto the cake, a little bit of each at a time (I use a cheese knife), swirling occasionally until the cake is fully coated. Place in the refrigerator until you’re ready to serve.

Chocolate, Mocha & Coffee Layer Cake // Kenkō Kitchen. Image taken from the Kenkō Kitchen Cookbook. Australian edition out now through Hardie Grant, out March/April through Hardie Grant UK and Rizzoli USA. Photography by Elisa Watson, styling by Kate Bradley (Kenkō Kitchen) and Sally Bradley.