Posts tagged Lunchbox Friendly
Double Choc Chunk Muffins
Double Choc Chunk Muffins // Kenkō Kitchen. Photography by Elisa Watson, styling by Kate Bradley (Kenkō Kitchen).

Double Choc Chunk Muffins // Kenkō Kitchen. Photography by Elisa Watson, styling by Kate Bradley (Kenkō Kitchen).

These muffins are some of the best chocolate muffins ever. Period! They are packed with protein, are incredibly fudgy yet still somehow light at the same time. They could totally be made nut-free by using a seed butter and a non nut based milk. I definitely recommend adding in the additional ingredients for an extra delicious flavour!


Double Choc Chunk Muffins

Makes 12-15
Prep time: 15 minutes
Setting time: 10-15 minutes

INGREDIENTS

1/4 cup flax seeds (ground into a meal)
1/4 cup arrowroot/tapioca flour
1/4 cup besan (chickpea) flour
1/2 cup cacao powder
1 scoop plant-based protein powder (I use Switch Nutrition - Protein Switch in Chocolate Sea Salt)
1 tsp bicarb soda
1 1/2 tsp baking powder
2/3 cup nut butter (I used an almond/peanut butter mix)
2/3 cup maple syrup (or rice malt syrup)
1/4 cup plant-based milk (I used almond)
1 tsp apple cider vinegar
160g dark chocolate

Optional Extras - I totally recommend adding!
1/2 - 1 tbs white miso paste
1 tablespoon mesquite powder (optional)
pinch sea salt flakes

METHOD

  1. Preheat oven to 180oC (350oF).

  2. Combine flax seed meal and 125ml (1/2 cup) water in a large bowl and stand for a few minutes, or until water has been absorbed.

  3. Add the arrowroot flour, besan flour, cacao powder, protein powder, bicarb soda and baking powder and stir to combine well. Stir in the nut butter, maple syrup, milk and vinegar until well combined then add the chocolate.

  4. Line a 12-hole muffin tin with paper muffin cases, then divide the mixture evenly between them. Transfer to the oven and bake for 10-15 minutes or until the tops have cracked and the muffins are cooked through.

  5. Allow to cool in the tins before serving.

Note: Due to the lack of refined sugars in here, these only last 3-4 days, in an air-tight container at room temperature. They will keep slightly longer in the fridge. If you refrigerate them, you may just want to warm them slightly before serving.

Bliss Bites / Golden Fun-time Balls
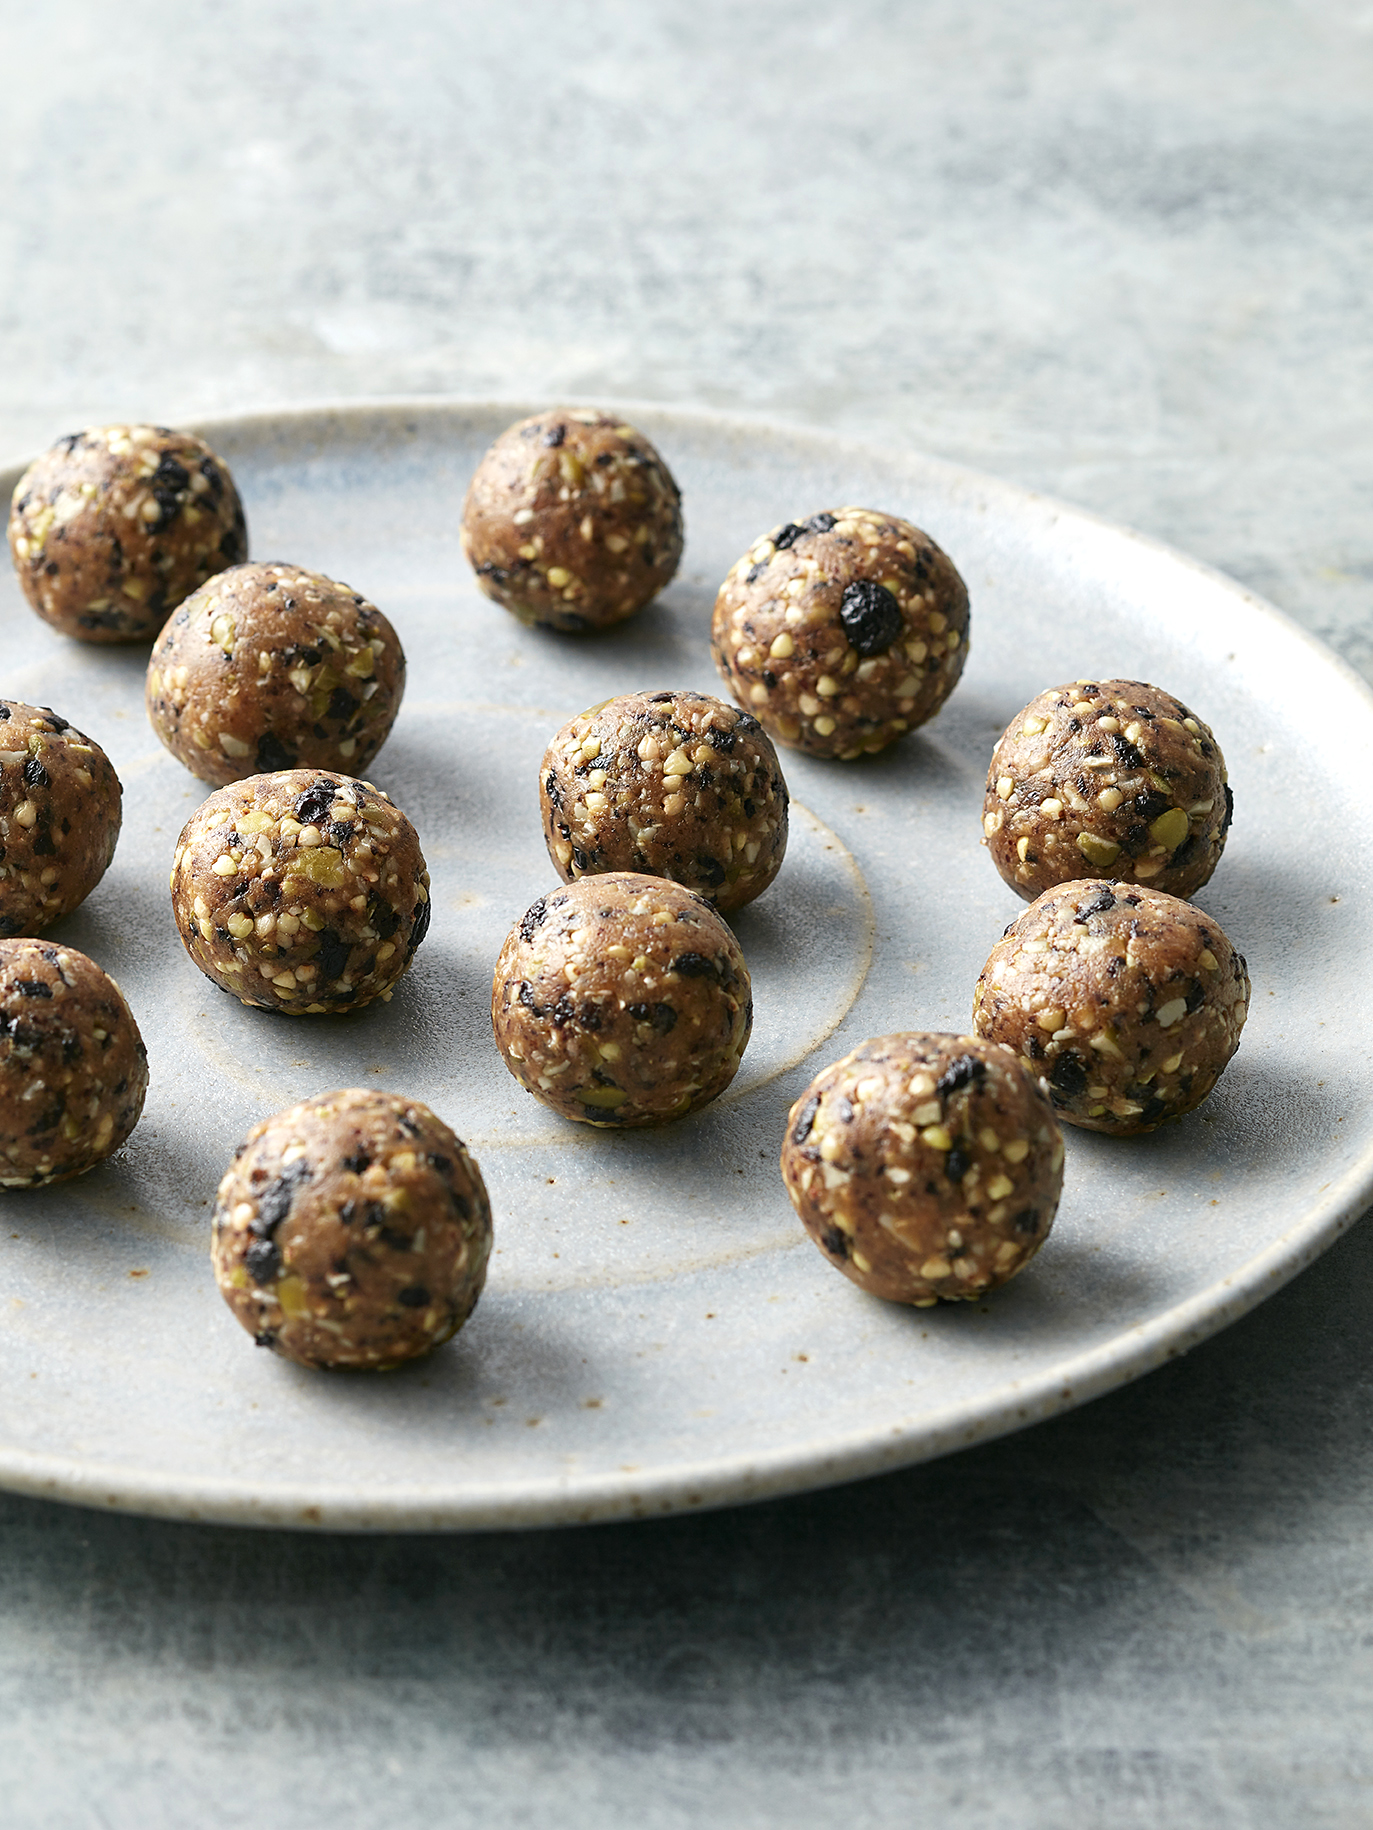
Golden Funtime Balls // Kenkō Kitchen. Image taken from the Bliss Bites Cookbook. Cookbook out December 1st through Hardie Grant. Photography by Elisa Watson, styling by Caroline Velik.

Golden Funtime Balls // Kenkō Kitchen. Image taken from the Bliss Bites Cookbook. Cookbook out December 1st through Hardie Grant. Photography by Elisa Watson, styling by Caroline Velik.

In the excitement of announcing my new cookbook, 'Bliss Bites', I thought I ought to share one of my favourite recipes from the book with you all!

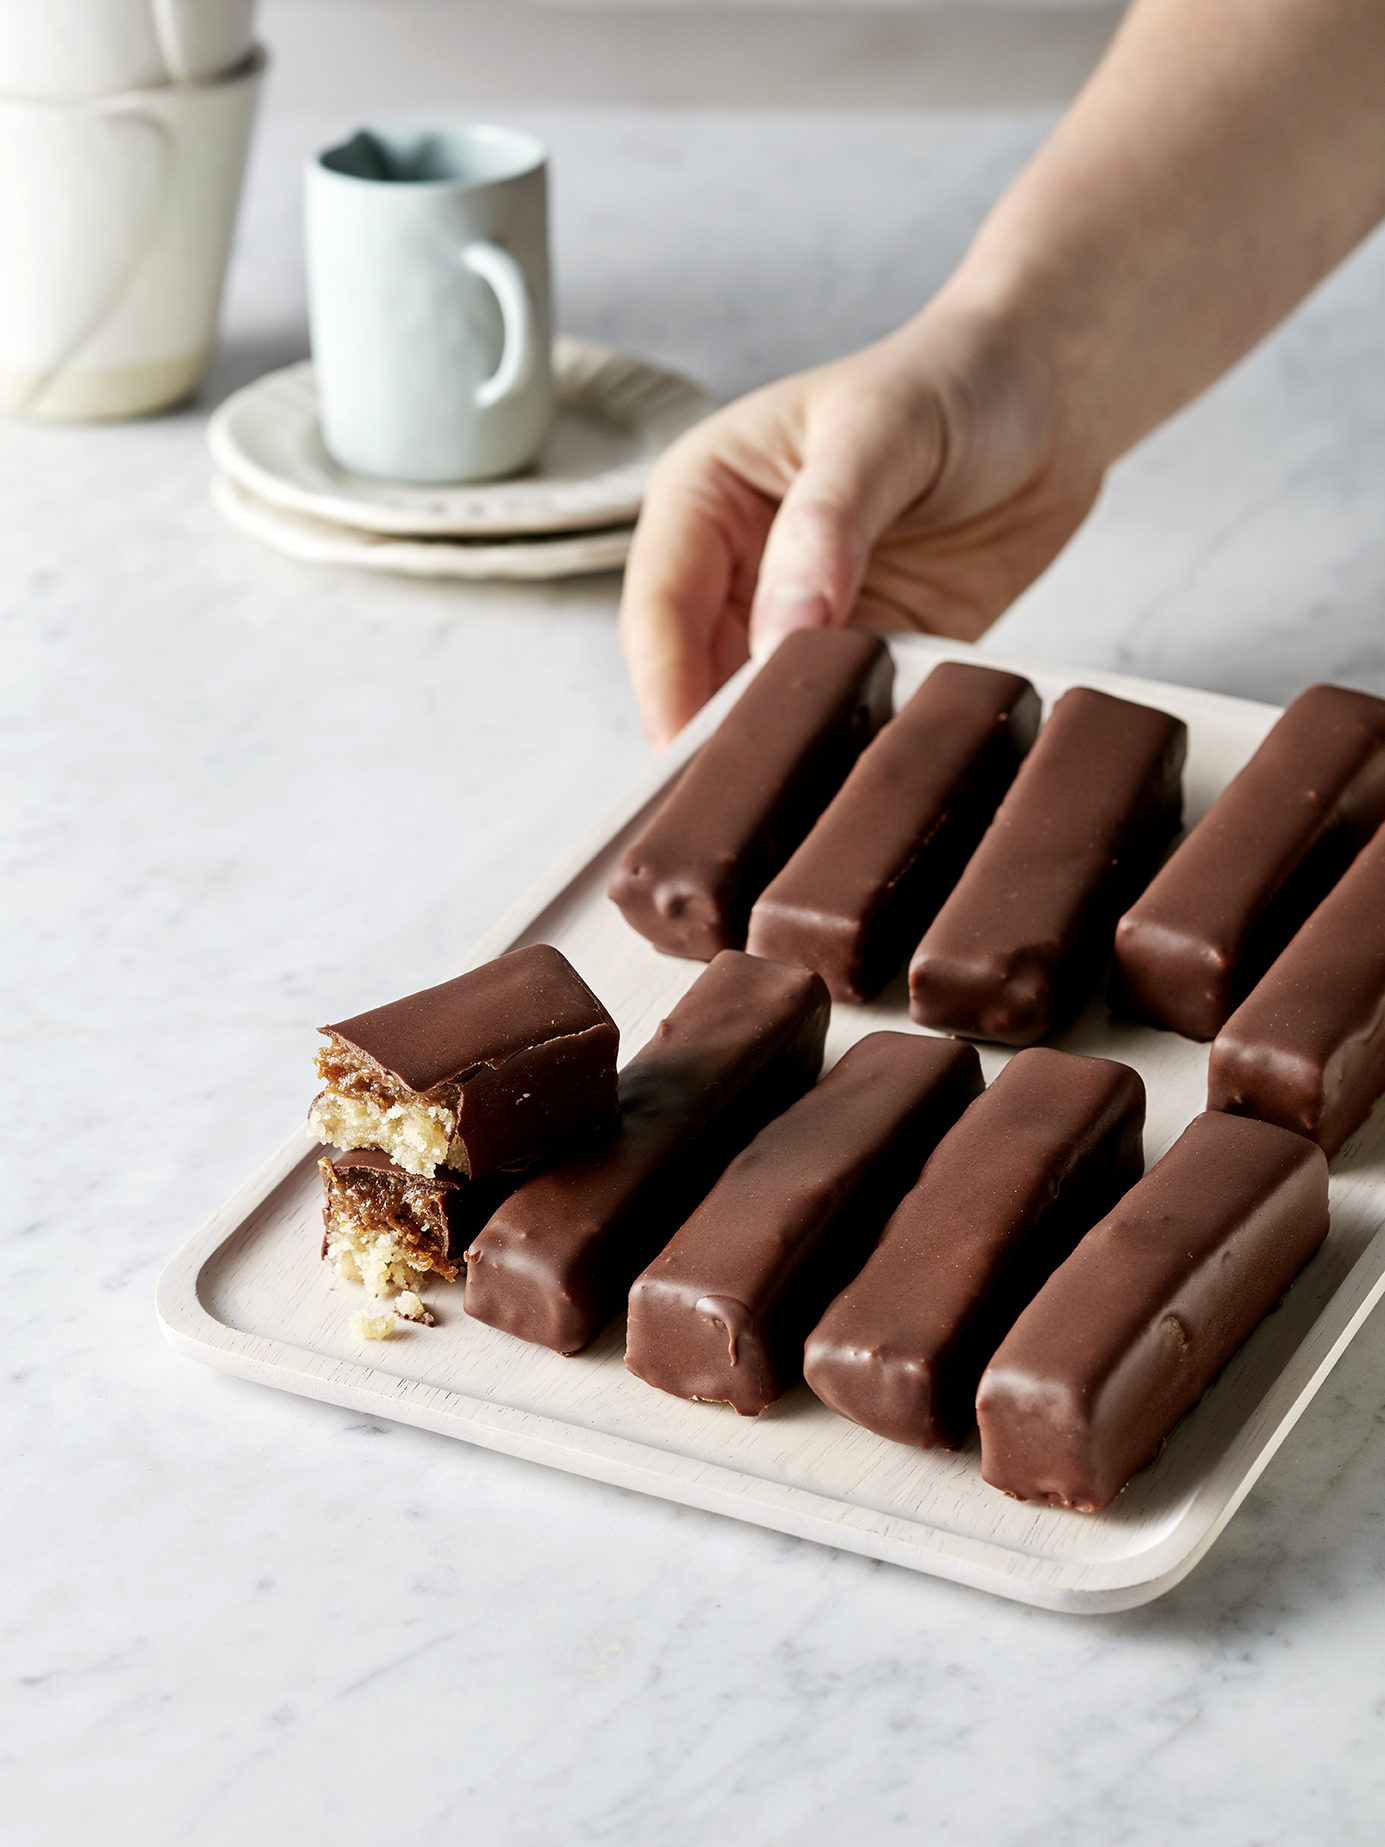
This recipe is an ode to my favourite childhood ice cream, and with the current timing of the Streets-boycott-saga, I couldn't think of a more perfect to make your own bite-sized version.

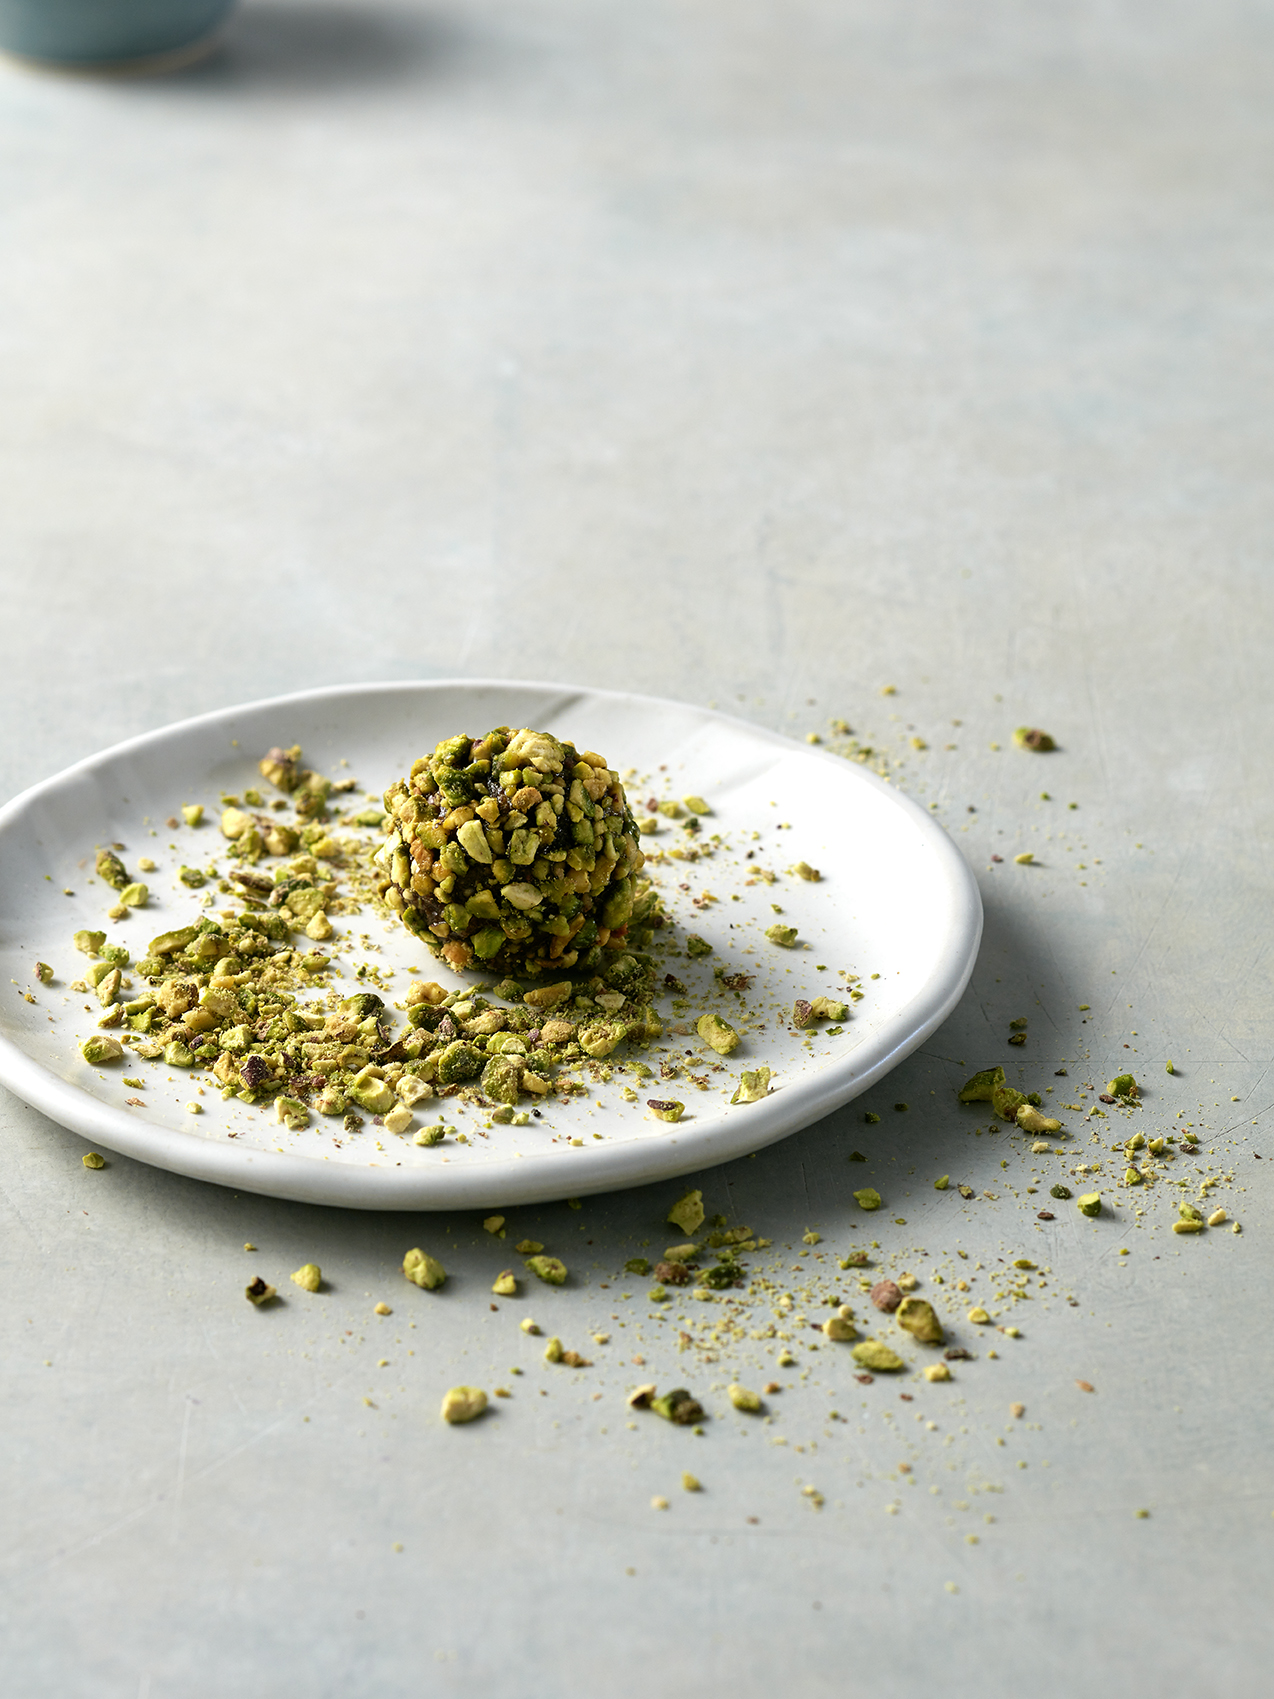
If you have never eaten the classic Australian ice cream, the Golden Gaytime, I can tell you one thing - it leaves other ice creams in the shade. Although it's been a good million years since I ate one myself, I have fond memories of them and these balls instantly bring those memories flooding back. The buckwheat on the outside is reminiscent of the cookie crunch of the Gaytime, and the super delicious center reminds me of that caramel-vanilla ice cream you get inside. If you wanted to make these even more deluxe, you could dip the balls in raw melted chocolate before rolling them in the buckwheat. Insane. 


Golden Fun-Time Balls

Makes 16
Prep time: 10 minutes

INGREDIENTS

12 medjool dates (about 240g), pitted
40g (1/3 cup) vanilla flavoured plant-based protein powder
1/2 teaspoon ground cinnamon (optional)
90g (1/3 cup) nut butter, toasted coconut butter or seed butter
2 tablespoons caramelised buckwheat*, plus extra for coating
2 tablespoons raw honey or maple syrup

METHOD

  1. Place the dates, protein powder, cinnamon (if using), nut butter, caramelised buckwheat and raw honey in your food processor or blender. Pulse until they're combined.

  2. Take about a tablespoon of the mixture at a time and roll into 3.5cm (1 1/2") balls then roll in caramelised buckwheat to lightly coat. Place the balls in an airtight container then put them in the fridge or freezer. These will keep for up to 2 weeks in the fridge, and a couple of months in the freezer.

Note: I use Loving Earth caramelised buckinis in this recipe. These can be found in all good health food shops, bulk wholefood stores and independent grocers across Australia. 

A New Cookbook / Bliss Bites
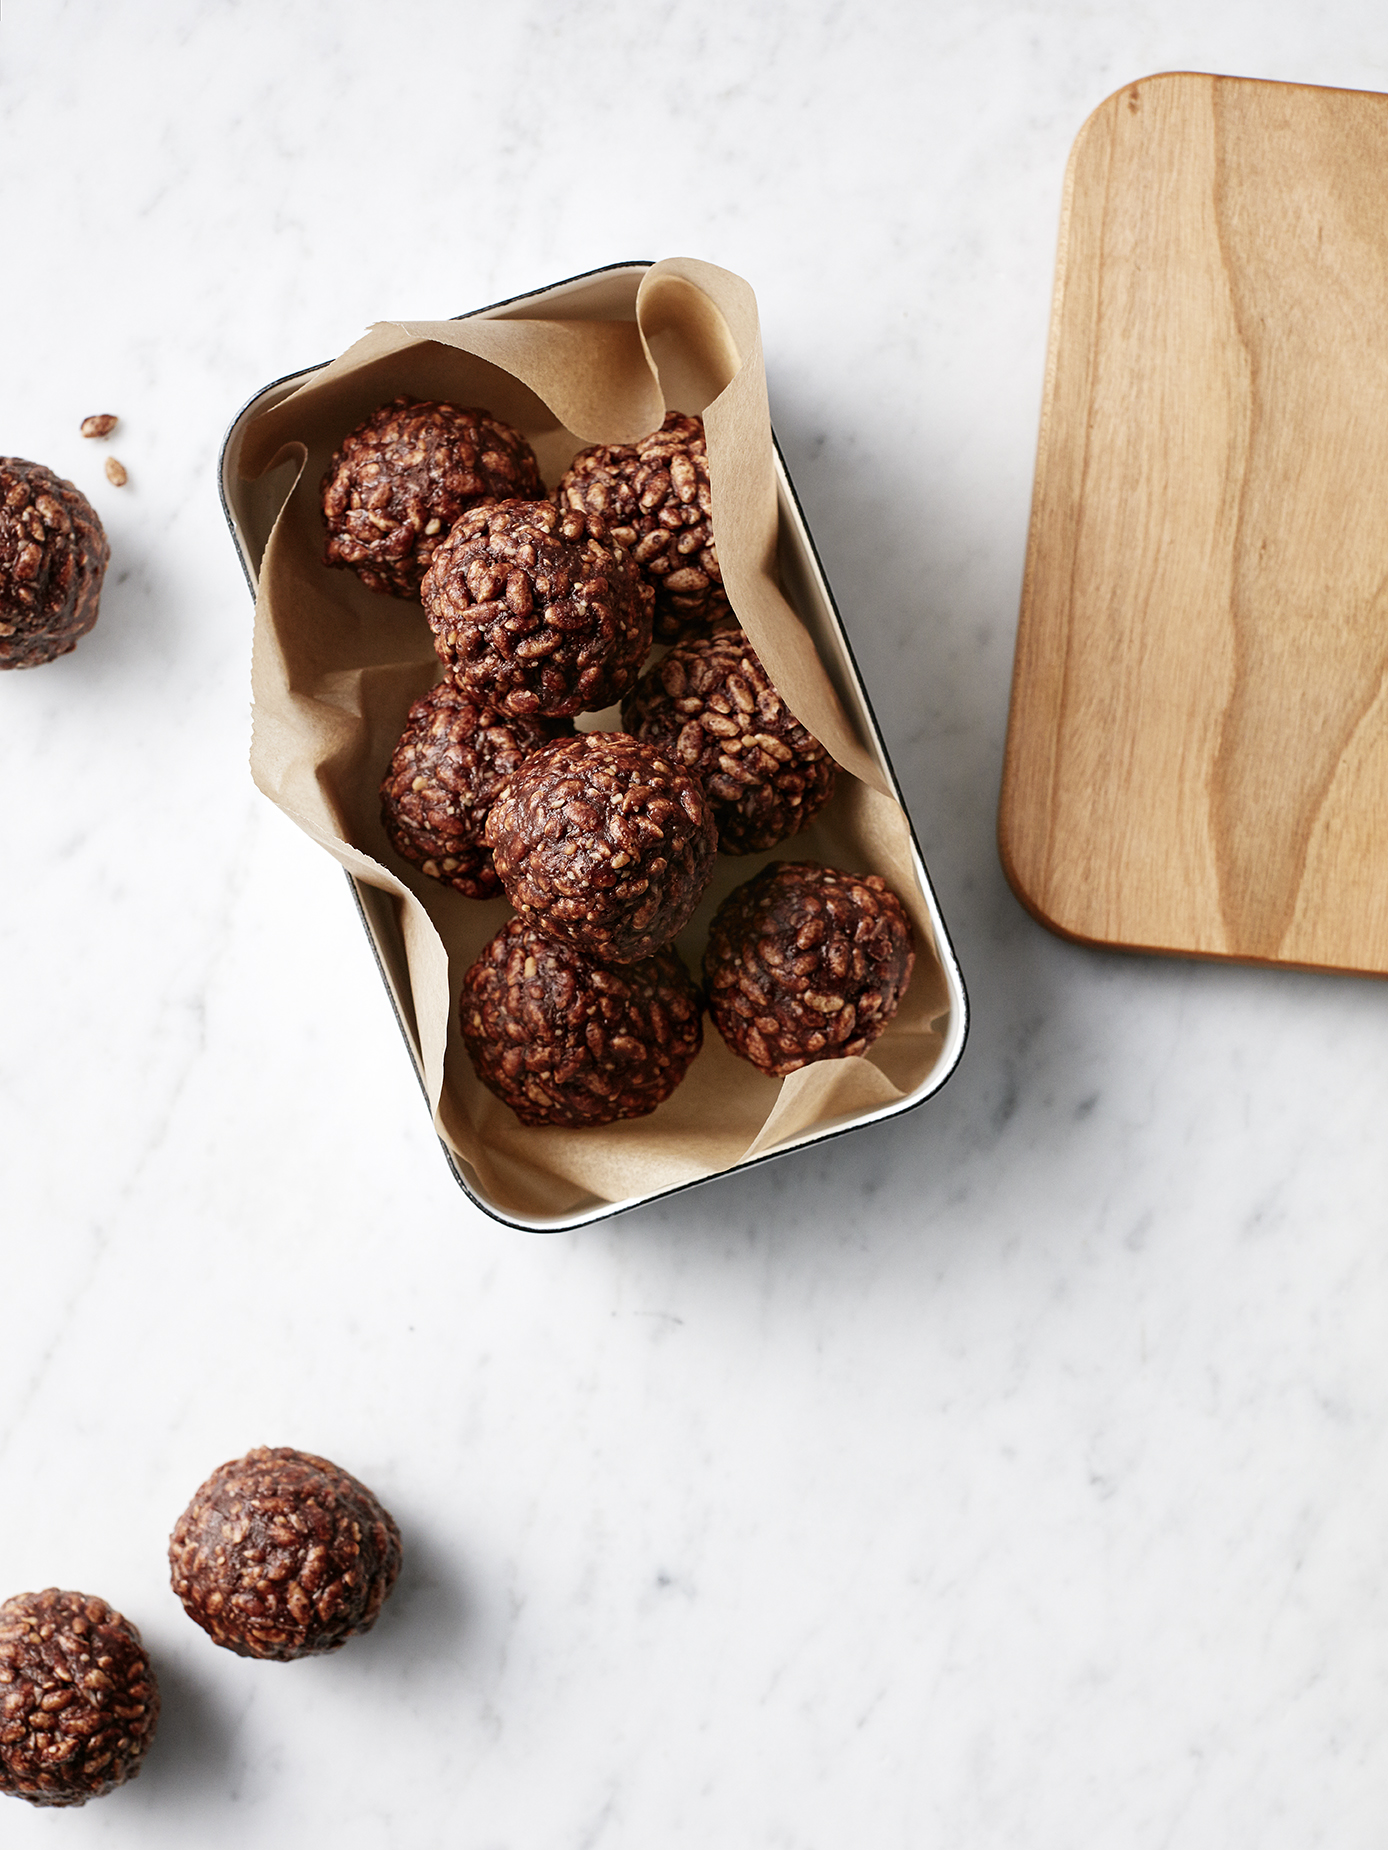
Not-So-Malt Teasers // Kenkō Kitchen. Image taken from the Bliss Bites Cookbook. Cookbook out December 1st through Hardie Grant. Photography by Elisa Watson, styling by Caroline Velik.

Not-So-Malt Teasers // Kenkō Kitchen. Image taken from the Bliss Bites Cookbook. Cookbook out December 1st through Hardie Grant. Photography by Elisa Watson, styling by Caroline Velik.

Something I am very excited to announce, although to be honest, it's been a fairly bad kept secret, is that I have written another cookbook! The cookbook is titled 'Bliss Bites' and is a super-cute pint-sized book with over 65 recipes both savoury and sweet! 

This cookbook is a small step away from my first cookbook, focusing on being as simple and accesible. After writing my first cookbook at the age of 22 I found I was using a few ingredients that not everyone could track down, or recipes that were a bit more advanced (can you blame me?! I was a very excited young thing writing my first ever book!). This cookbook has been created to cater for everyone, making fuss-free treats that are both delicious and healthy! None of the recipes have been designed to be daunting and I have written substitutions where applicable to make them as allergy friendly as possible too!

The recipes in this cookbook are a mix of bite-sized snacks and lunchbox fillers (think 5-ingredient Peanut Butter Bliss Balls, Raspberry Ripe Truffles, Golden Funtime Balls, Not-So-Malt Teasers), savoury treats (think Rainbow Sushi Balls and Thai 'Crabless' Cakes), as well as delicious desserts (think Almost-A-Snickers Bar, Raw Lemon Slice) with a few healthy 'milkshakes' and smoothies popped in there too. 

Something I have been incredibly passionate about since starting Kenkō Kitchen is trying to help others see that eating healthy doesn't have to be just lettuce on a plate, and it doesn't need to be hard or expensive. I hope this cookbook, and it's small price tag, will bring joy and pleasure into kitchens and lunchboxes around Australia (and the world!). 

The cookbook will be released December 1st (oh would you fancy that, right in time for holiday gift shopping - wink wink, nudge nudge!) through Hardie Grant Books.

For my UK and USA friends, 'Bliss Bites' will be released January 2nd, 2018.

You can now pre-order the cookbook from Booktopia, Book Depository, and Amazon.

Bliss Bites Cookbook // Kenkō Kitchen. Image taken from the Bliss Bites Cookbook. Cookbook out December 1st through Hardie Grant. Photography by Elisa Watson, styling by Caroline Velik.

Bliss Bites Cookbook // Kenkō Kitchen. Image taken from the Bliss Bites Cookbook. Cookbook out December 1st through Hardie Grant. Photography by Elisa Watson, styling by Caroline Velik.

Black Tahini Brownies
Black Tahini Brownies // Kenkō Kitchen. Photography by Elisa Watson, styling by Kate Bradley (Kenkō Kitchen).

Black Tahini Brownies // Kenkō Kitchen. Photography by Elisa Watson, styling by Kate Bradley (Kenkō Kitchen).

Like many plant-based cooks, I've struggled with making brownies that are as good as the real deal. I have tried making brownies out of various vegetables. I've tried making them with beans. I've tried making them with various flours and funky (bank-breaking) ingredients but in the end, they've always ended out NQR (you know, either more like a glue consistency or somewhat like a flavourless crumbling dirt cake mmmm... yuuurrrmmmm....). 

Before I knew I was coeliac, and wasn't so health conscious (AKA not health conscious at all), baking was my thing. I would literally use any excuse to bake and then would bake without an excuse too. It was my stress relief during year 10-12 when school was 'hard' (I look back at this and totally LOL now, ohhh how naive we are in high school). In my later teens' when other people partied, I baked. I used to cater for my friend's parties making them brownies, cakes and cookies. I would make elaborate cakes in the shapes of BBQ's, meat pies, burgers, pizza boxes, whatever you wanted - I could make a cake look like the real deal. My favourite thing to bake however was brownies. They won everyone over, they cured everyone's broken heart and everyone's stressed brain.

Fast track to 4 years later and I was faced with the challenge. How to make brownies without using refined sugars and with wholesome ingredients. I've definitely made some doozies and I would even go so far as to say most of my attempts were likable to an inedible slice of cardboard. Let's be honest - they were gross.

I tried other bloggers and cooks recipes hoping they would taste as good as the Instagram photo looked. They didn't. They too were cardboard (soz guys).

Maybe it was just an impossible? I should give up. Brownies just weren't going to exist in my life anymore. I would just have to accept it.... NO!

And so I came to this. Gluten free, dairy free, egg free, nut free, refined-sugar free, grain free, vegan, oil free. Is that enough 'free's' for you?

Not only can you find most of these ingredients in your local supermarket, they are also super quick to make, and in my opinion, taste even better than the real deal (then again I haven't had a 'real' brownie in like 6 years so I can't really judge, but they're good and get lots of thumbs up).

They are also kind of good for you, they have flax seeds (source of fibre, protein, omega-3), cacao powder (antioxidants, magnesium, manganese), maple syrup (calcium, iron, magnesium, zinc) and of course, black tahini (a great source of calcium, magnesium, iron, zinc, vitamin E and B-vitamins... among some other things too).

I even read online that black tahini is a natural remedy for grey hair.  However, I don't have grey hairs yet and I've already fallen for the 'natural hair dye myth' once before - The one where you can supposedly dye your hair with coffee. You can't. I poured coffee on my head, let it soak, and the result was not the luscious brown locks pictured on Pinterest, my hair was the same but, it just smelt of coffee and I was left with my mother and sister mocking me. 

Anyway, enjoy this recipe. I do, very much. My friends who have tried it also enjoy it.

WARNING: You won't be able to just make this recipe once. You will make it once, then probably the next week to share with someone, then again the next day because one batch wasn't enough. Before you know it you've spiraled into a Black (Tahini Brownie) Hole and won't be able to think about anything other than these. It's OK though, who needs pants that fit or friends or a boyfriend or a job? You have brownies, and they will bring you all the fulfillment you need. 


Black Tahini Brownies // Kenkō Kitchen. Photography by Elisa Watson, styling by Kate Bradley (Kenkō Kitchen).

Black Tahini Brownies // Kenkō Kitchen. Photography by Elisa Watson, styling by Kate Bradley (Kenkō Kitchen).

BLACK TAHINI BROWNIES

Gluten Free, Vegan, Refined Sugar Free, Dairy Free, Egg Free, Oil Free, Nut Free

Makes 9-12 brownies
Prep time: 10 minutes
Cooking time: 20 minutes

INGREDIENTS

1/4 cup linseed meal
1/2 cup water
1 tsp baking powder
1/2 tsp bicarb soda
pinch salt
1/2 cup cacao powder
1/4 cup arrowroot flour
1/3 cup maple syrup
1/3 cup black tahini
120g raw or dark chocolate, roughly chopped

METHOD

  1. Preheat the oven to 180°C (350°F) and line a 20 x 15 cm (8 x 6 in) baking tin with baking paper.

  2. Place the linseed meal and water in a mixing bowl and stand for a few minutes, or until the water has been absorbed.

  3. Add the baking powder, bicarb soda, salt, cacao powder, arrowroot flour, maple syrup and black tahini and mix until smooth. Add the chocolate and fold through.

  4. Pour mixture into the tin and bake for 20 minutes or until just set (don't overcook your brownies!).

  5. Cool the brownie in the tin for at least 15 minutes before slicing into 9-12 pieces.