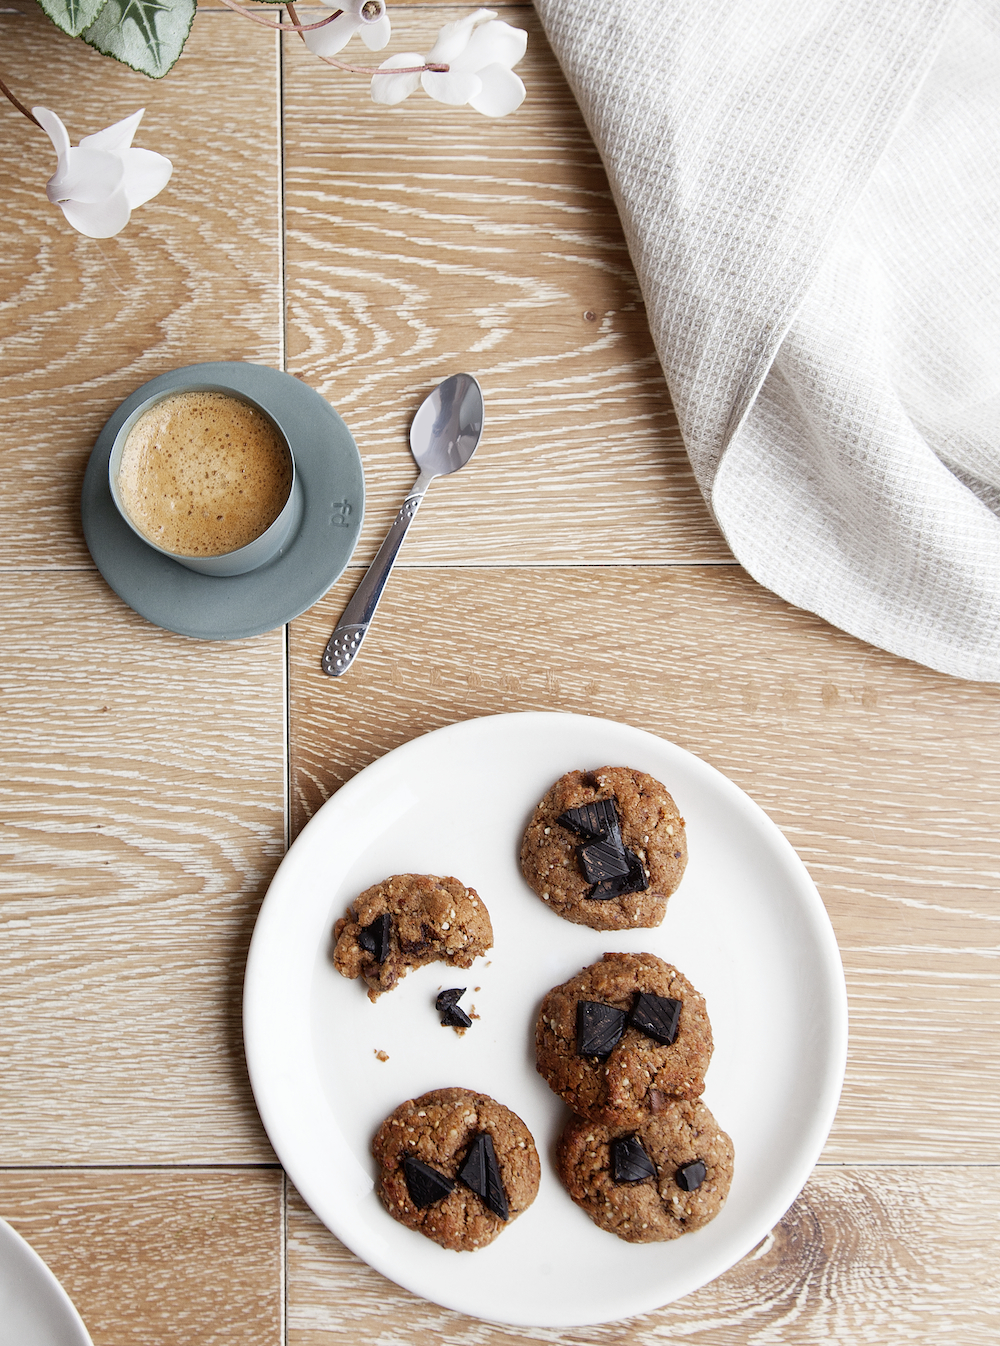
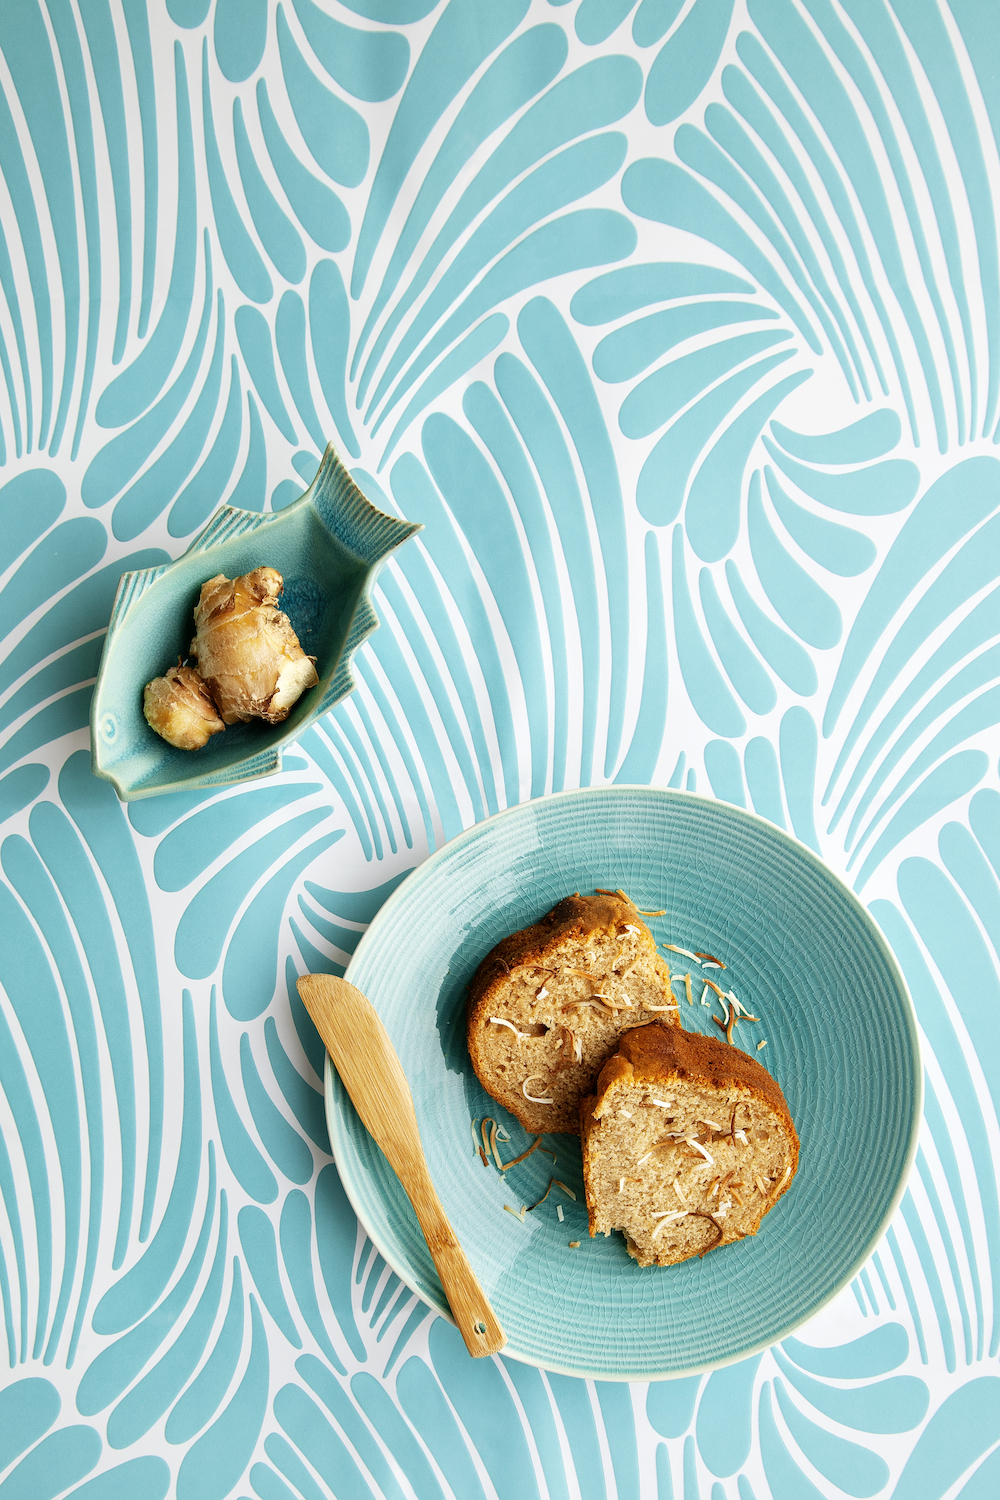
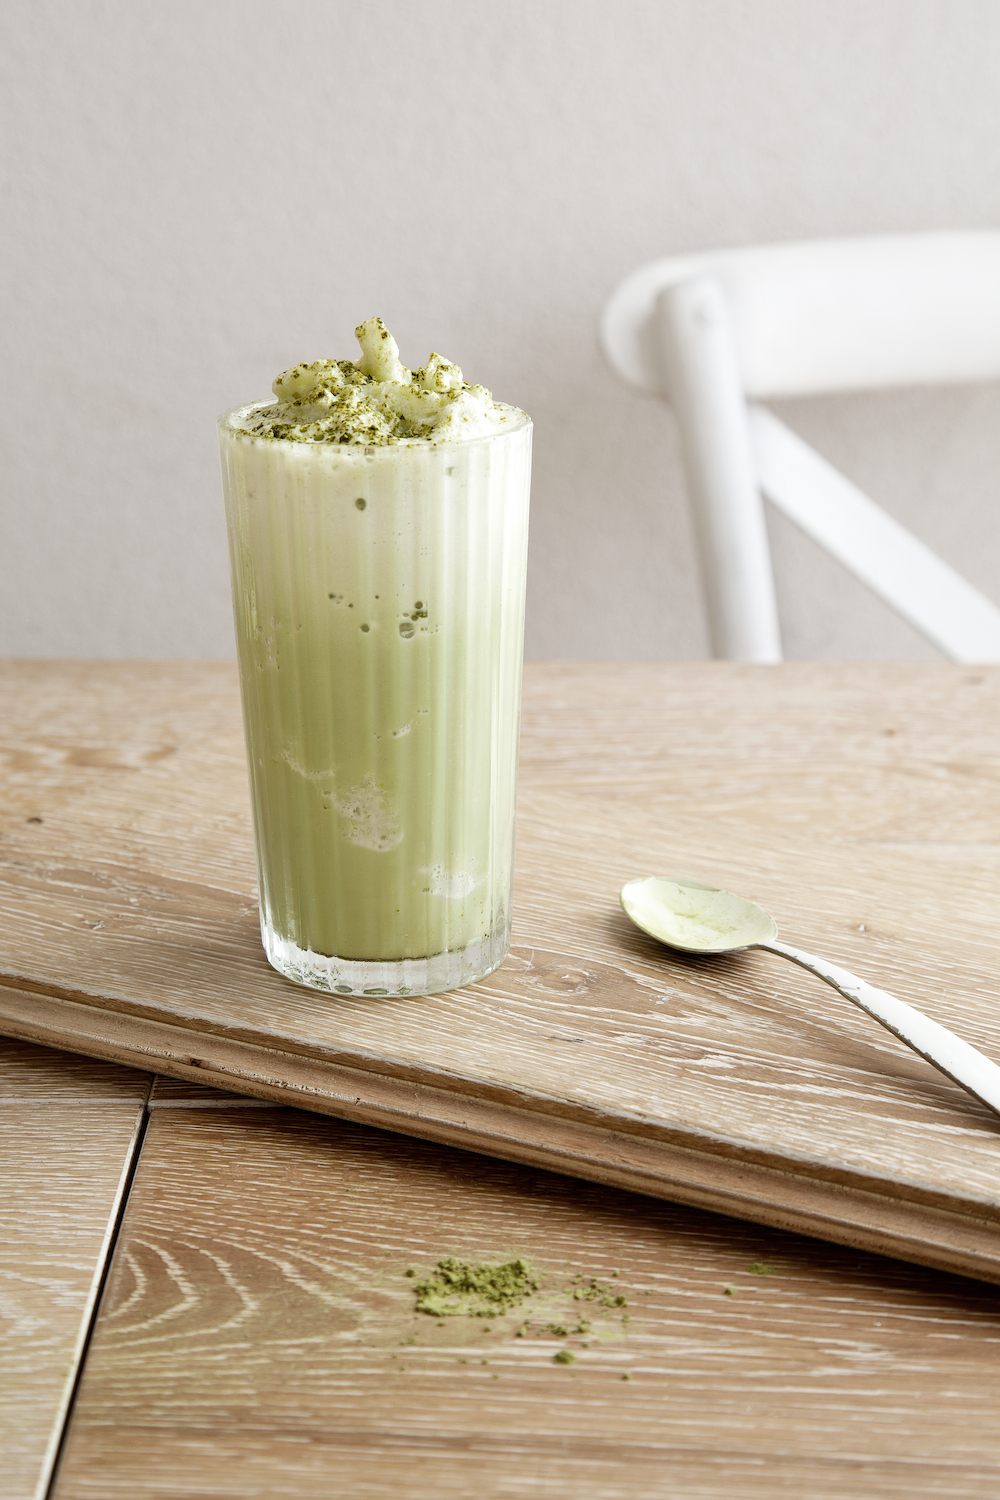
Photography by Elisa Watson.
After receiving many very helpful entries to my Kenkō Kitchen Survey, it was apparent that more snacks were wanted and needed on the website. So after listening to your responses, I present you with one of my favourite snacks of all time. These macrobiotic inspired sushi cones are so packed with vitamins, minerals, essential amino acids and protein to keep you full and fuelled for hours. They are one of my favourite easy snacks to whip up and are much, much more delicious than your regular take away sushi (which can often be packed with sugar which is mixed through the rice!).
In this recipe I have used Mochi, which is a form of fermented brown rice which is most commonly used in Japan and in traditional Japanese medicinal practices. Mochi is nourishing for the stomach, spleen and pancreas as well as being good for those with anemia, blood-sugar imbalances and weak intestines. It is said to bring warmth to the body and increase energy and it's also very easily digestible and soft on the stomach. It's also gluten free, wheat free and vegan. This is an ingredient which isn't as common to find in Australia, however it is stocked in some Asian supermarkets and health food stores. It can be found in many online stores if you are unlucky in finding them near you, and are a definite must try/ pantry staple for me. My absolute favourite on the run snack is to simply fry my Mochi in a touch of tamari, allowing it to puff up, then wrapping it in nori! The recipe below is a little bit more complex than that three ingredient combination, however it is just as simple and is extremely delicious!
In this recipe the Mochi is paired with so many other nutritious elements such as avocado for your serve of good fats, quinoa for protein and all the essential amino acids we need, carrot for beta-cerotine and vitamin A alongside cucumber and micro greens for extra smack of many vitamins and minerals. It's such a highly nutritious meal which will have you leaping with energy and goodness going in your body! I recommend making it for a snack or as a simple lunch to really show your body some loving. If you're having it later, you can even place ingredients into a container and assemble last minute to stop the nori from going too soggy.
Serves 2 (or makes 4 sushi cones)
Prep time: 10 minutes
Cooking time: 10 minutes
Ingredients
1/2 cup cooked quinoa
100-200g mochi (cut into strips)
1 tsp coconut oil
1 tsp tamari
1 carrot (cut into 4-8 sticks)
1/2 avocado (cut into slices)
1 small cucumber (cut into 4-8 sticks)
handful micro greens
1 tsp black sesame seeds
2 spring onions (finely chopped)
4 nori sheets
+ extra tamari to serve
Method
In a small pan, melt your coconut oil and fry your Mochi strips over a medium heat for about 5 minutes on each side or until they have puffed up nicely.
Roll each nori sheet into a cone shape (which I then wrap in baking paper and tape together to keep them from falling apart) then divide the carrot, cucumber, avocado and micro greens and mochi strips evenly between the cones. Spoon in some of the cooked quinoa around the vegetables, then sprinkle with sesame seeds and spring onions to finish.
Top with a splash of tamari then eat immediately and enjoy!