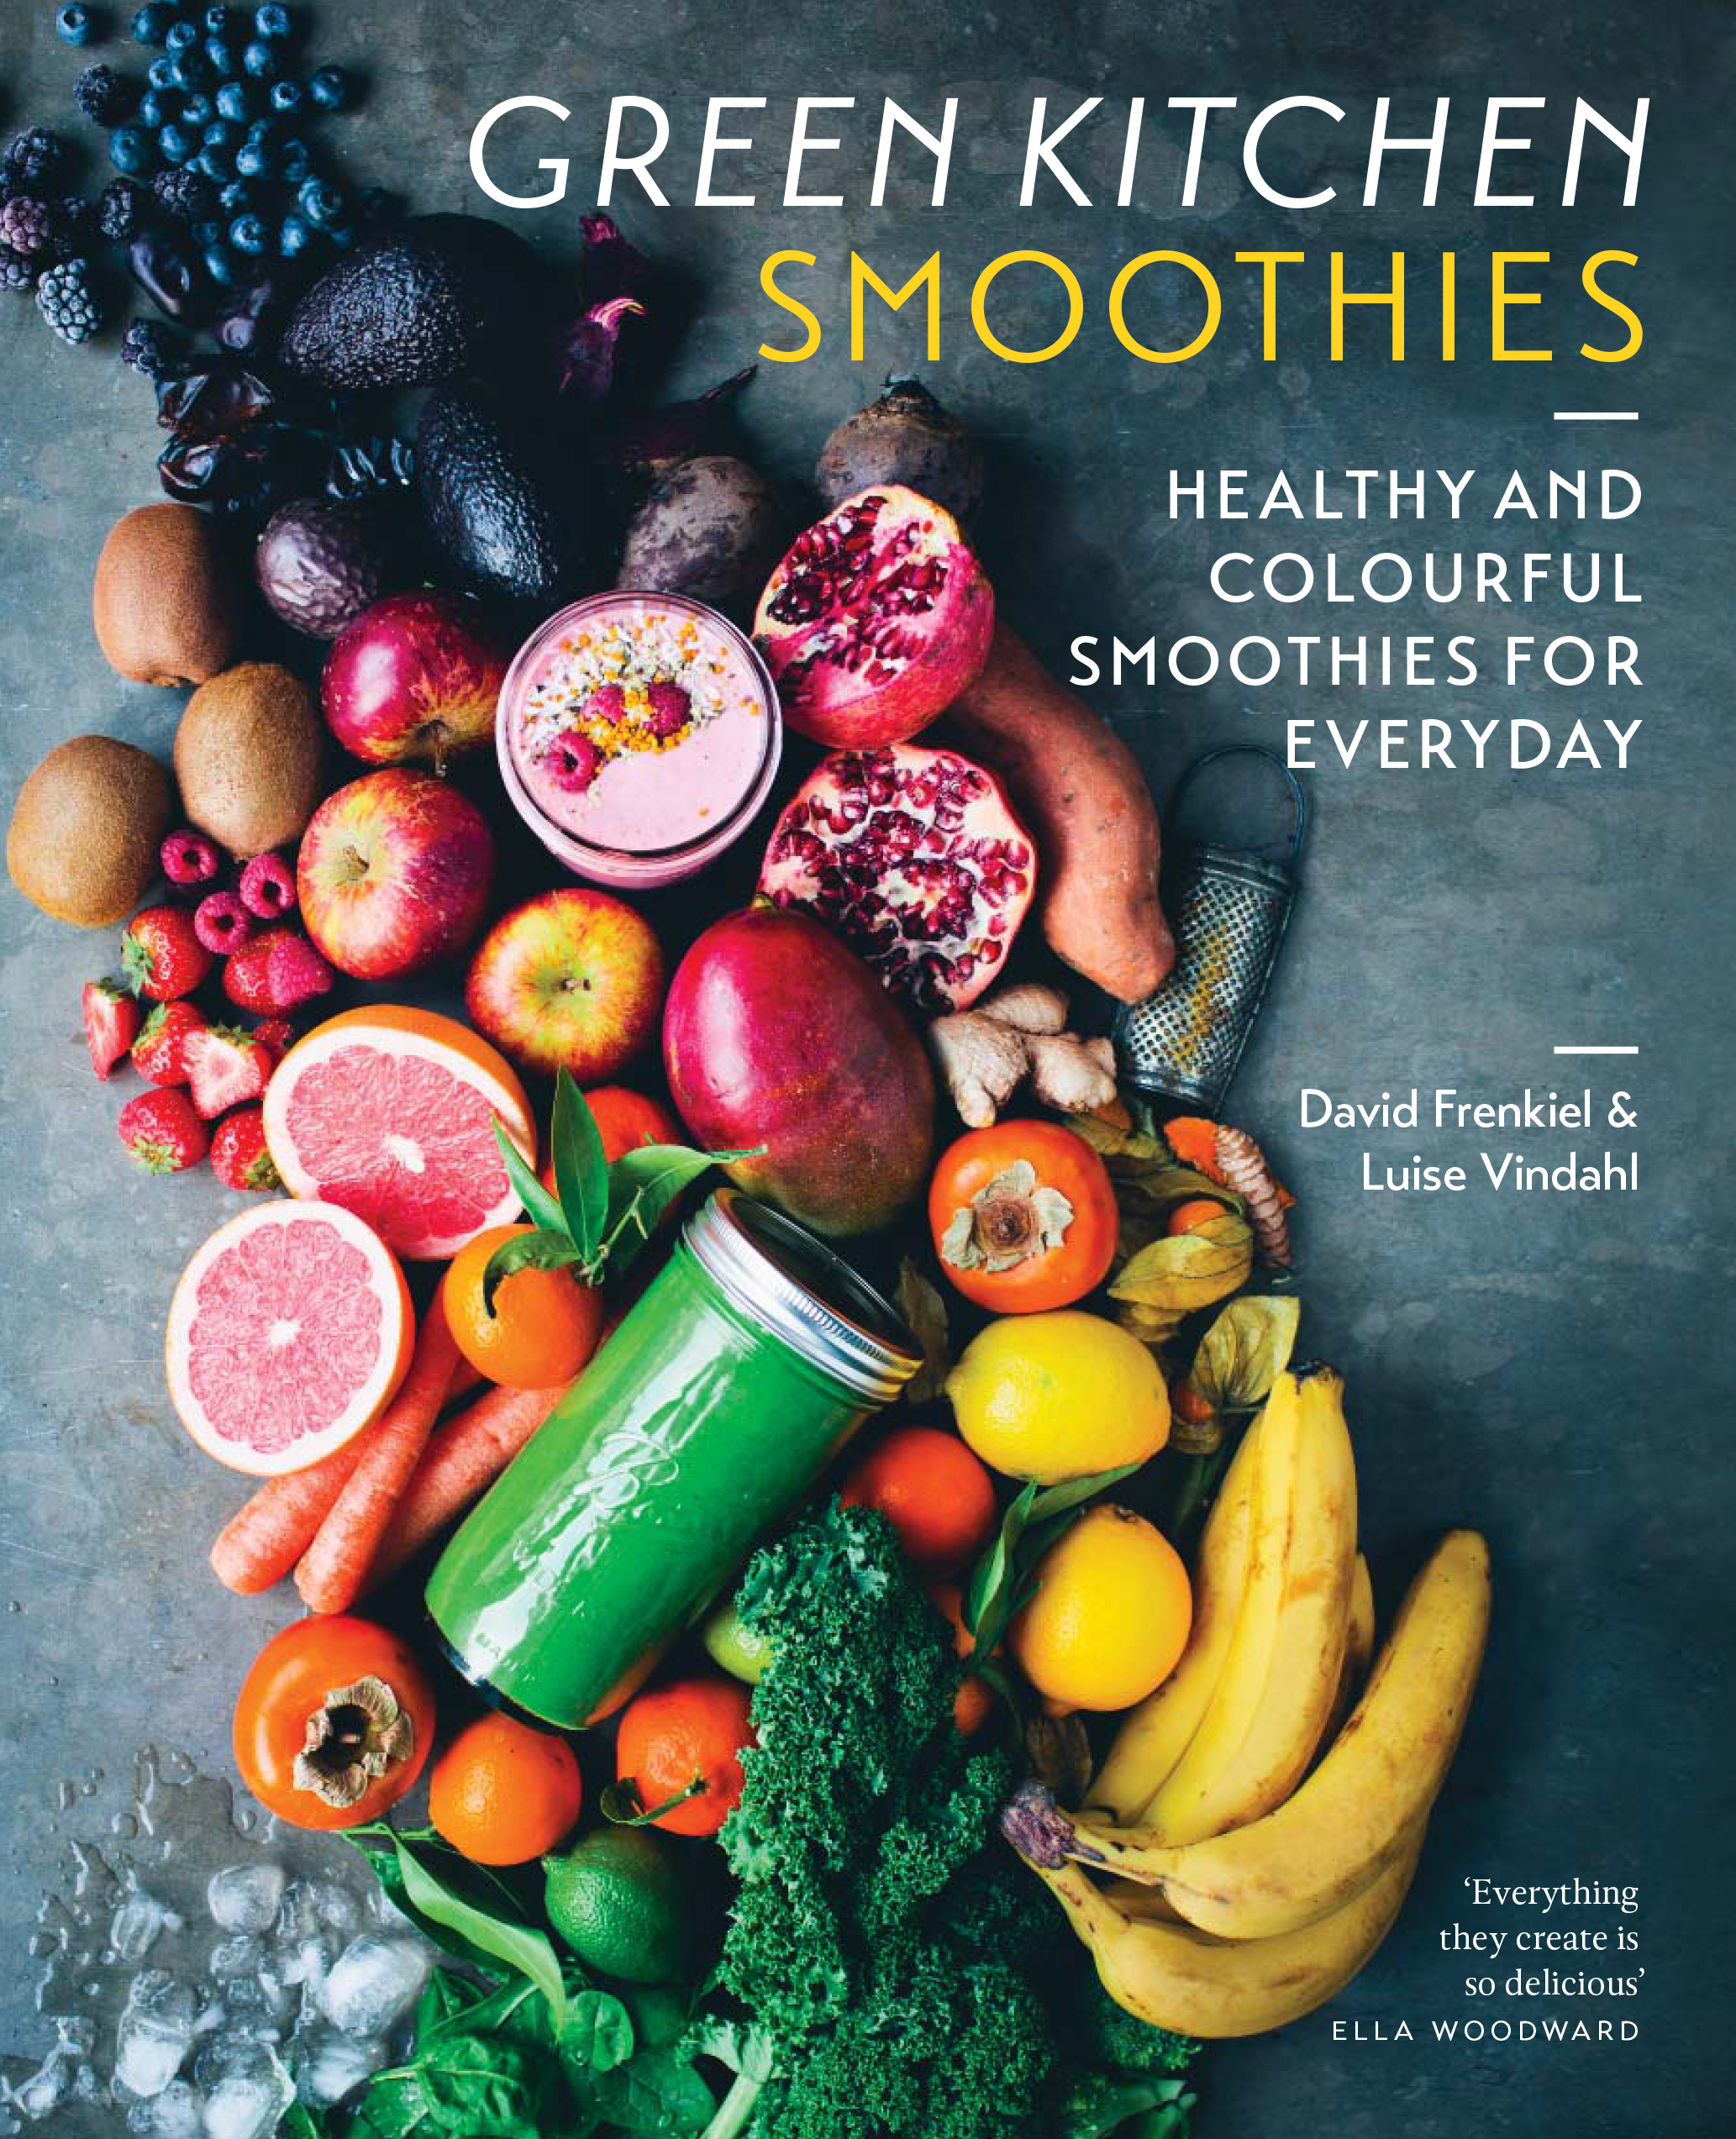
Marbled Smoothie Popsicles // David Frenkiel and Luise Vindahl from the Green Kitchen Smoothies cookbook. Cookbook out now through Hardie Grant. Photography by David Frenkiel and Luise Vindahl.
This is the second recipe I am featuring from the Green Kitchen Smoothies cookbook by the beautiful couple David Frenkiel and Luise Vindahl. For more on this cookbook and another featured recipe, check out the first post here.
Marbled Smoothie Popsicles
Our popsicle version of a smoothie has a beautiful marbled look that can be made in an array of colours. The photo features three different flavour combinations: mango and passionfruit; strawberries and raspberries; and blueberries, but you can adapt this recipe to any fruit of choice - just let your imagination run wild! If you choose a very ripe and sweet fruit, you can use a little less sweetener, or increase it if your fruit is very tart.
Makes 10 popsicles
Prep time: 5 minutes
INGREDIENTS
For the banana smoothie
2 ripe bananas, peeled
500g (2 cups) coconut yoghurt
2 tablespoons maple syrup or raw honey
1/4 teaspoon vanilla powder or 1 teaspoon vanilla extract
For the fruit smoothie
150g (1 cup) fresh berries or fruit of choice
2 tablespoons maple syrup or raw honey
For the extras
fresh ripe berries or fruit of choice, roughly chopped
nut butter
toasted nuts, roughly chopped
granola
quality dark chocolate (at least 70%) or raw vegan chocolate
METHOD
- Roughly chop the bananas and add them to a blender along with the rest of the banana smoothie ingredients. Blend on a high speed until completely smooth.
- Set aside about 350g (1 1/2 cups) of the banana smoothie, leaving the rest in the blender. Add all the fruit smoothie ingredients to the blender and blend until completely smooth.
- Carefully fill 10 popsicle moulds with the smoothies, alternating between the banana and fruit one to create a marbled look (you can use the back of a teaspoon or knife to create this ripple effect). For an even more spectacular look and interesting texture, try adding some extras in the moulds between the different coloured layers.
- Cover, insert the popsicle sticks and set in the freezer for at least 4 hours or until completely firm or overnight. They can keep in the freezer for days, weeks, months, years... (but secretly you know they won't!).
Note: I made this recipe vegan by changing the full-fat plain unsweetened Greek yoghurt to coconut yoghurt. If you're not vegan feel free to keep the recipe as the original stands.