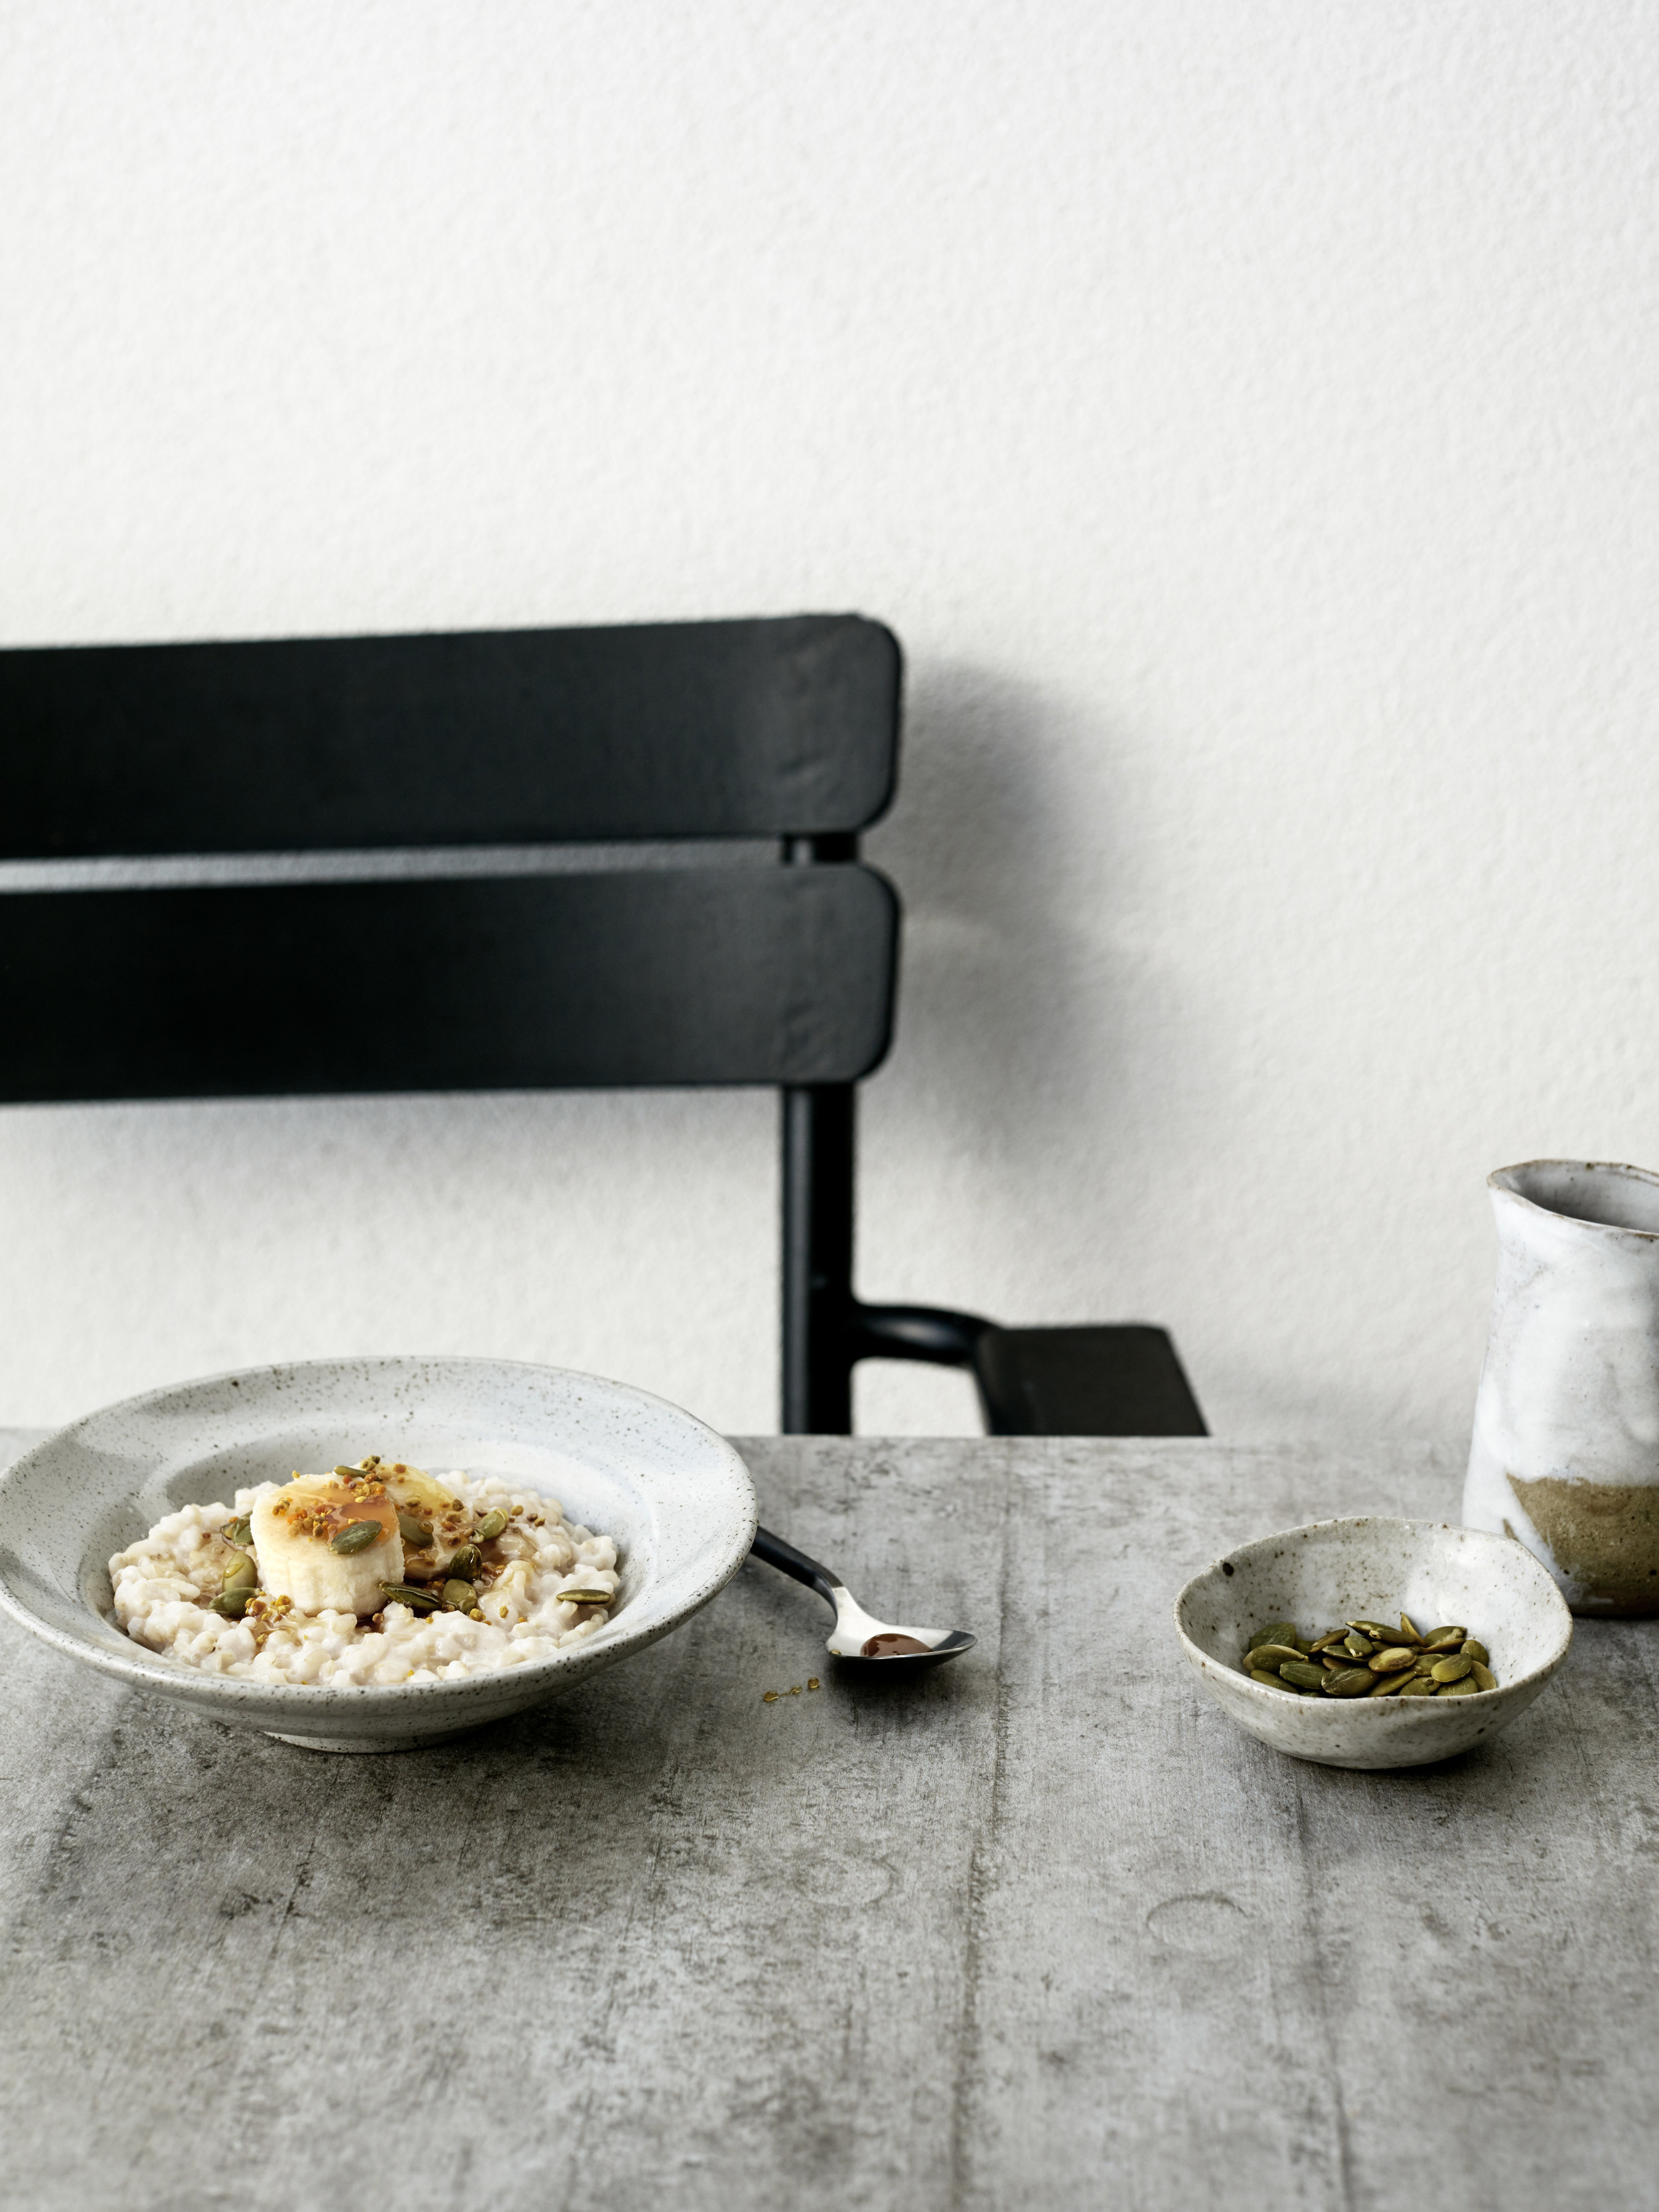
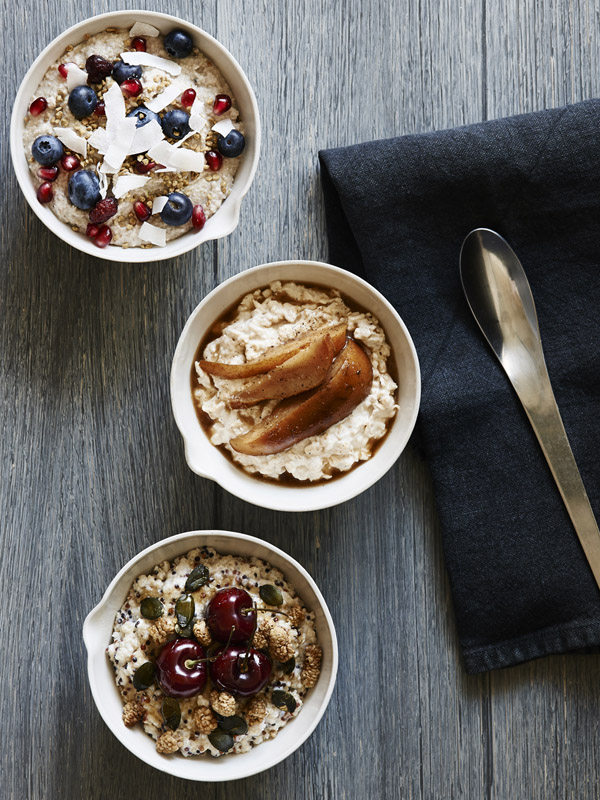
Gluten-Free Bircher muesli // Kenkō Kitchen. Photography by Elisa Watson, styling by Kate Bradley (Kenkō Kitchen).
The saddest part about finding out I was coeliac was it meant no more oats! Although these can be labeled gluten-free in America and Europe, they’re a strict no-no in Australia unless you have completed the ‘oat challenge’. As an avid porridge fan, overnight oat fan, and bircher muesli fan I was left unable to have my favourite go-to breakfasts and, it took YEARS before I found a suitable substitute. When I stumbled across brown rice flakes, it was like Christmas had come early. Suddenly I was now able to make the creamy, delicious porridge I remembered that wasn’t just mush (quinoa flakes) and didn’t take ages to cook (brown rice porridge, though I still love this!). They also, of course, work PERFECTLY as a substitute in bircher muesli.
This bircher recipe is an almost instant recipe that can be whipped out for a delicious weekend breakfast, or used for some sweet meal prep to get you through the week. I hope you love it!
Gluten-Free Bircher Muesli
Serves 4
Prep time: 10 minutes + 30 min. soaking time or overnight
INGREDIENTS
150g brown rice flakes (I use Forbidden Foods)
1/4 cup pepitas
1/4 cup flaked almonds
2 tbs shredded coconut
2 tbs sunflower seeds
2 tbs currants or 2 Medjool dates, roughly chopped
1 tsp cinnamon
1 small apple, grated
1 cup homemade or cloudy apple juice
1 cup natural unsweetened coconut yoghurt
1/4 cup plant-based milk (I use Rebel Mylk - Original or unsweetened almond milk)
METHOD
Combine brown rice flakes, pepitas, flaked almonds, shredded coconut, sunflower seeds, currants, and cinnamon in a mixing bowl until well combined.
Stir through grated apple, apple juice, yoghurt, and plant-based milk.
Seal the bowl and place it into the fridge for 30 minutes or overnight.
Divide between four bowls and serve.
Note: This is one of my go-to meal prep breakfast recipes. After mixing simply divide between 4-5 containers to have during the week. If having the next day you might like to loosen the mixture with some additional plant-based milk or coconut yoghurt.